


People asked…
We had a couple people ask about our RV reno that I mentioned in the recent podcast, so we thought we should join in this “share picture” theme we had going on our Facebook group! After all, while we’re not on social media, we can still join in the fun, right? Besides, all anyone has to do is say the words, “reno” and “please share details,” and I can literally hear the celebration bells going off in my head. Cue the five-hour-long excited rant about all things home interior where you can’t get me to be quiet. 🙂 I really hoped that “Interior Design” would have won in the prior voting polls (about as much as I wanted “Barista” to win), but apparently no one seems to share the same extent of my passion for coffee and decor. 😆 Sigh….
No, this blog right here has nothing to do with Campfire Curriculums (except our Photography unit did help me to take the photos much better than I otherwise would have lol…), but hey—we’ve spent a lot of time in here homeschooling, so it counts as homeschool related, too, right?
So I’ve never shared these publicly before, and you guys are the first to see it (that’s a bit nerve-wracking!). Here’s the rundown of the details (and massive mistakes we made), along with a couple before and afters for those who asked (scroll past the pics):
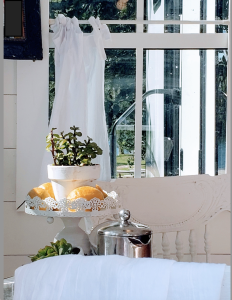
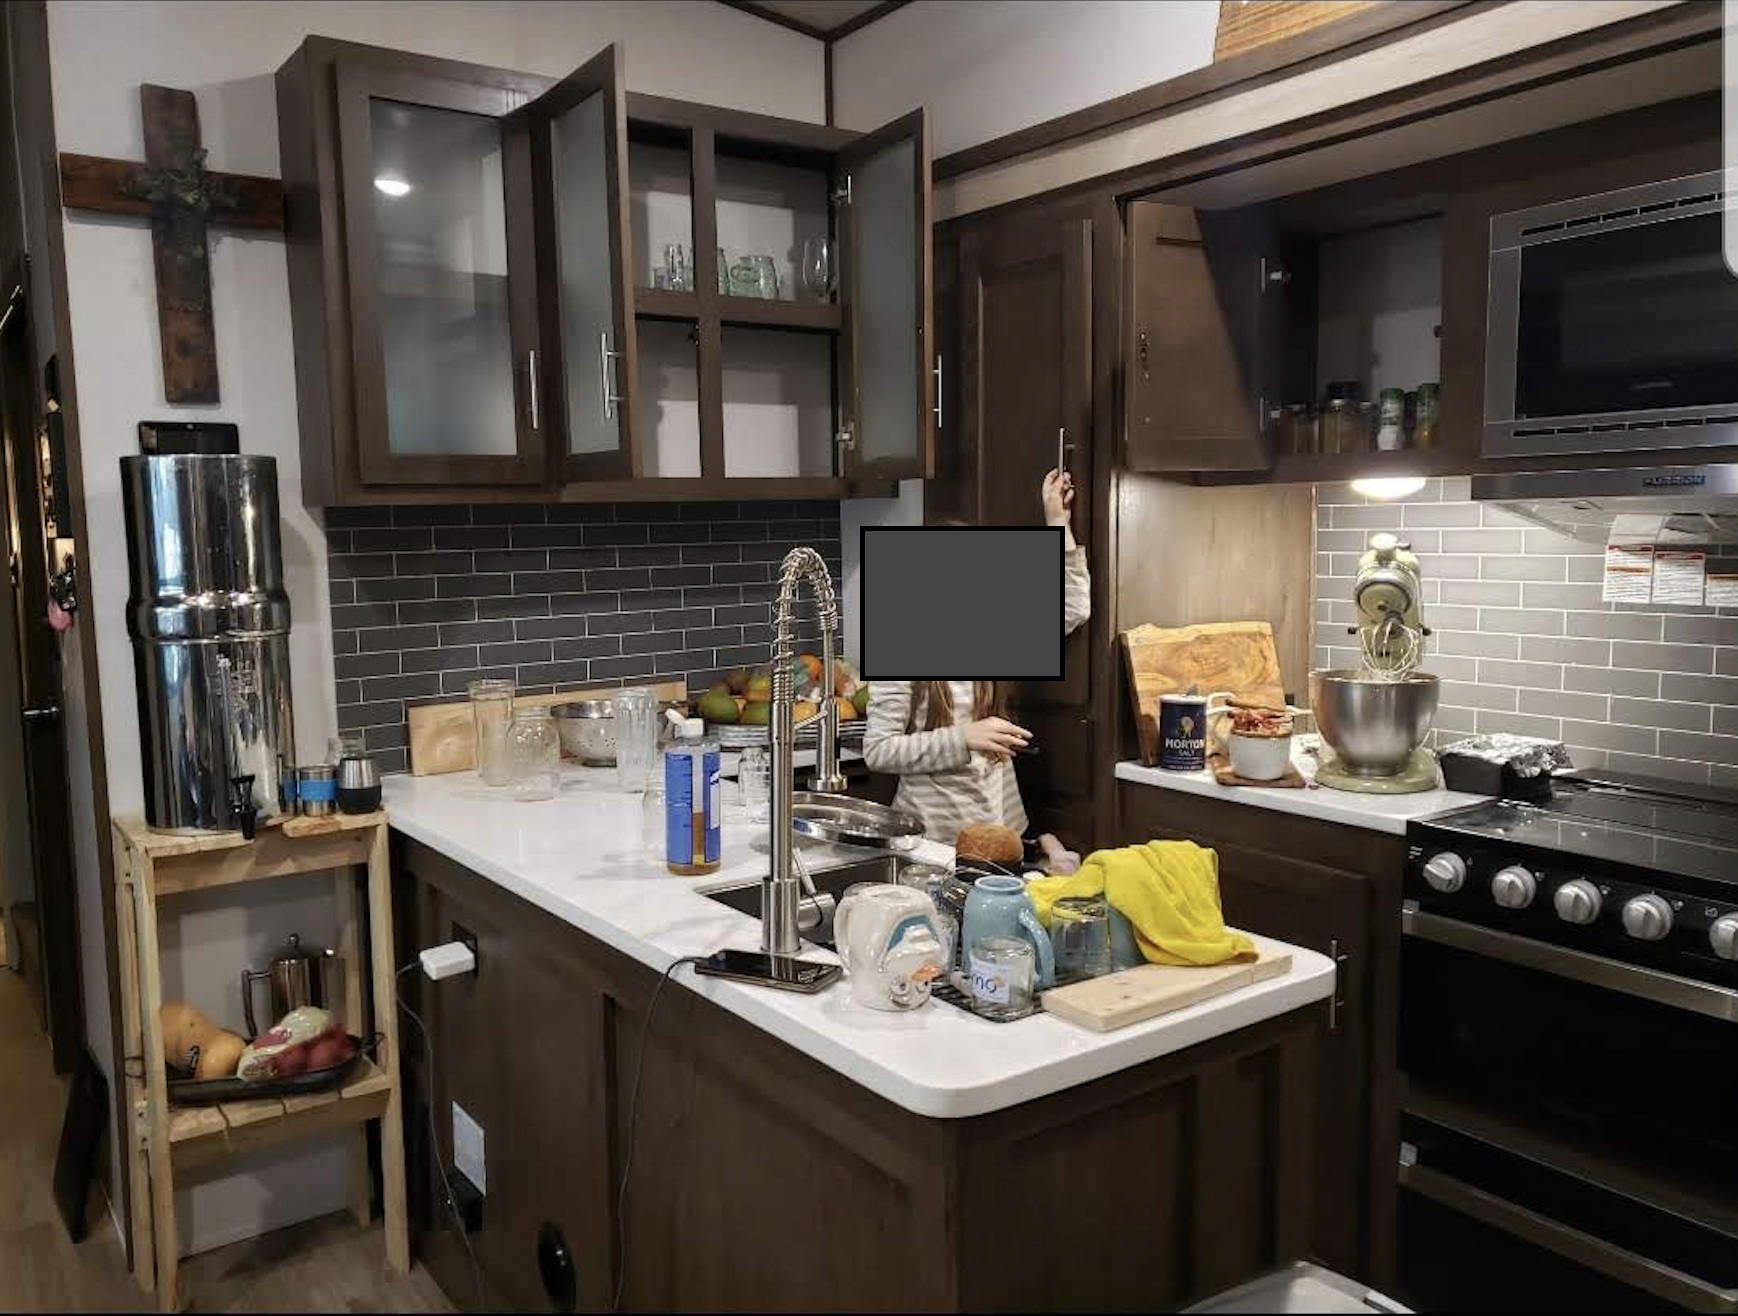
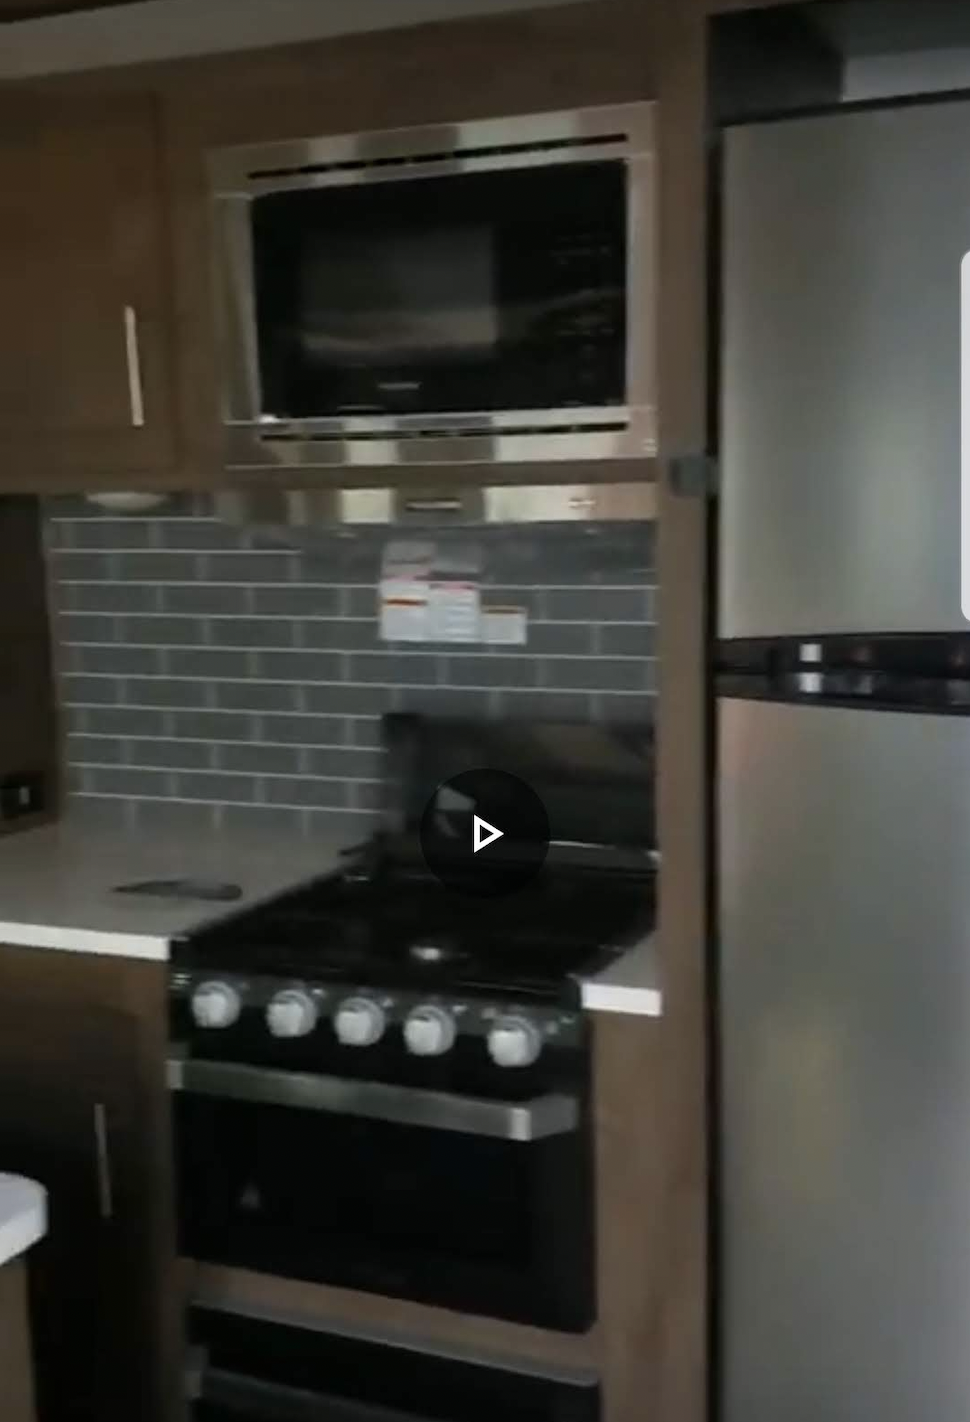
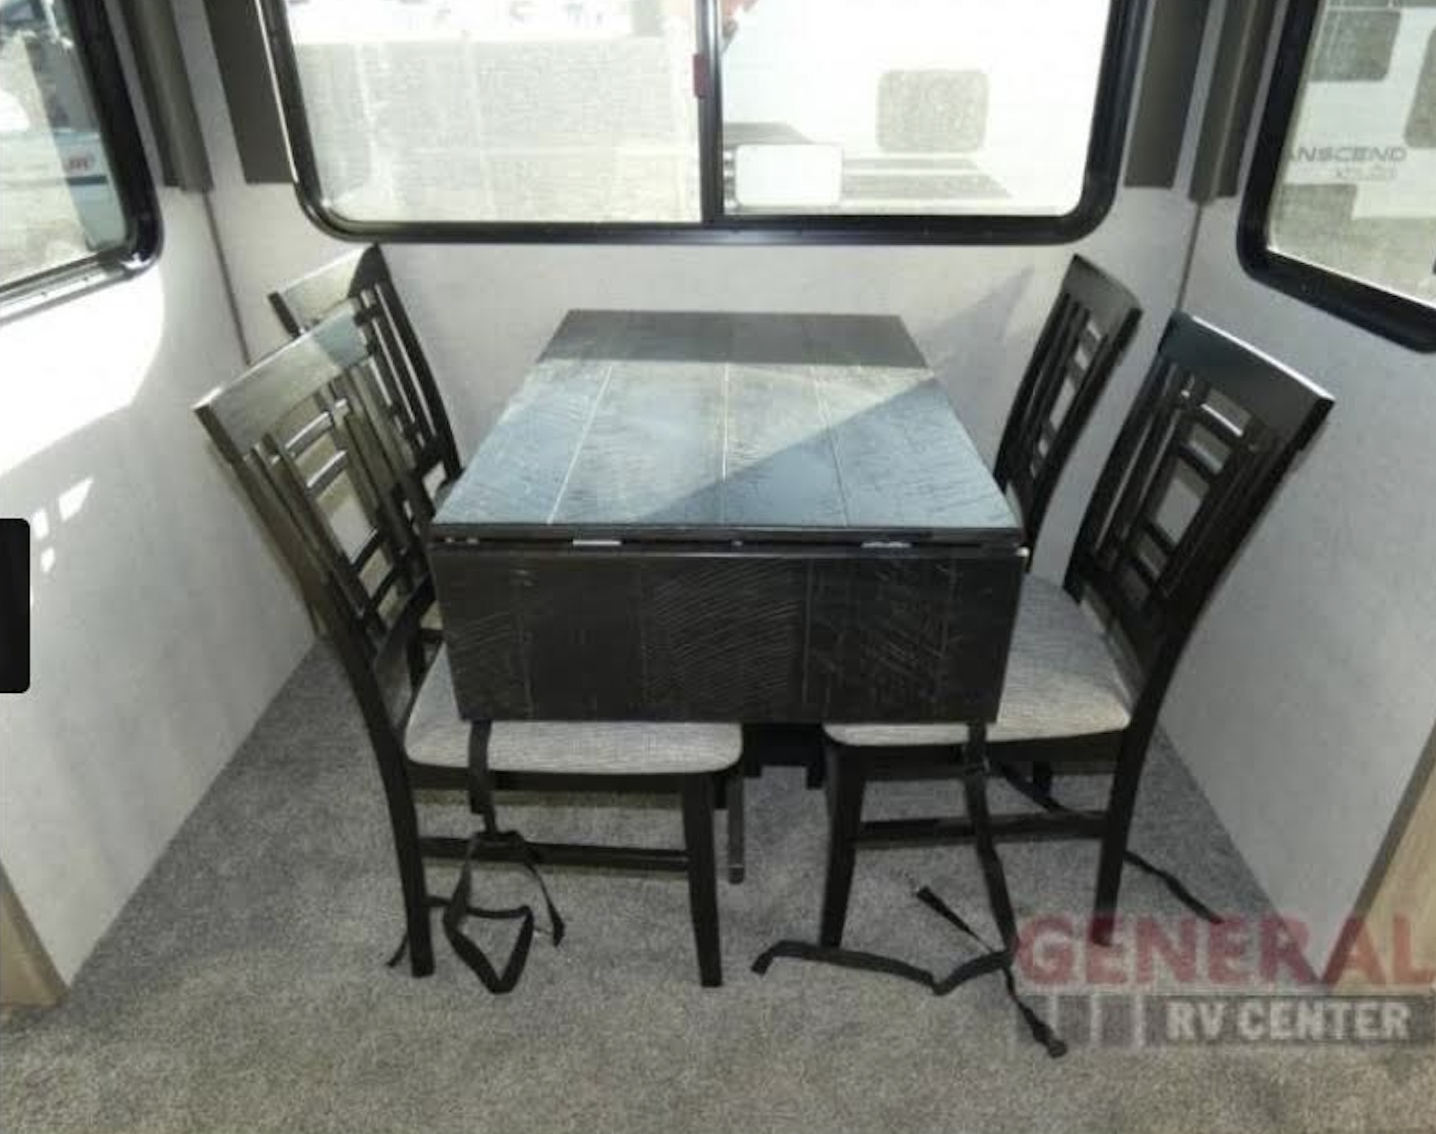
“Before” photos are to the right;
I had to grab a couple extra “before pics” from online screenshots because I couldn’t find my originals. In any case, the pictures to the right/below show what it looked like before the reno. 🙂
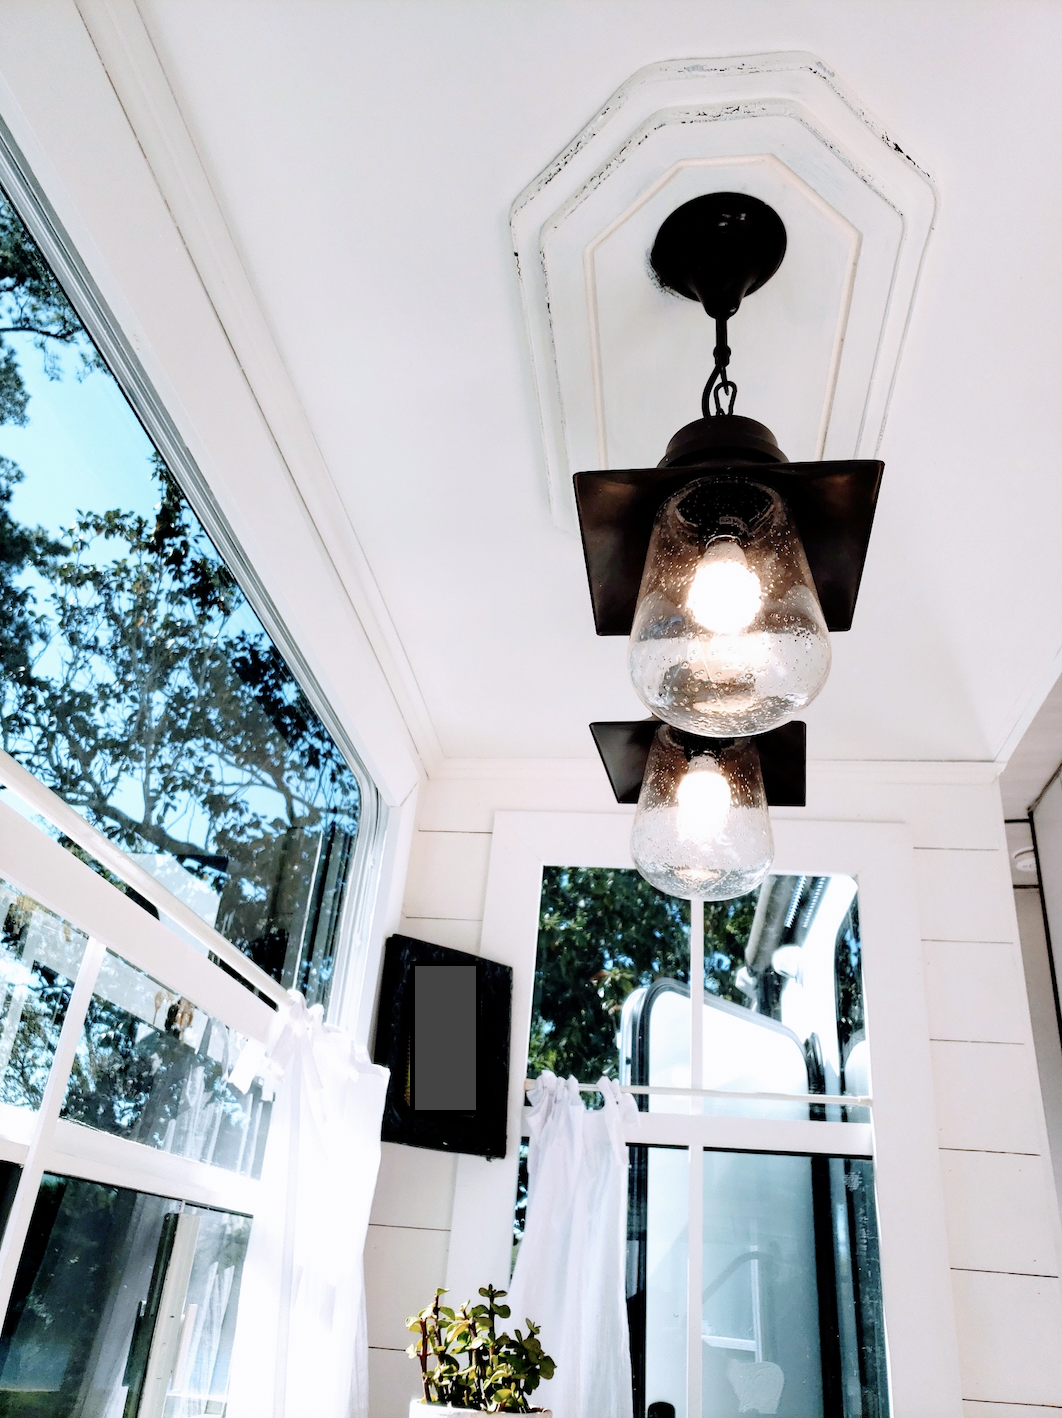
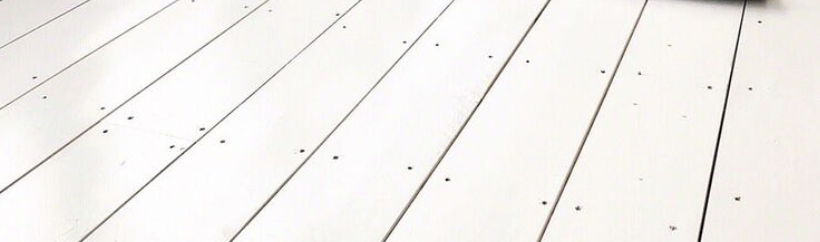
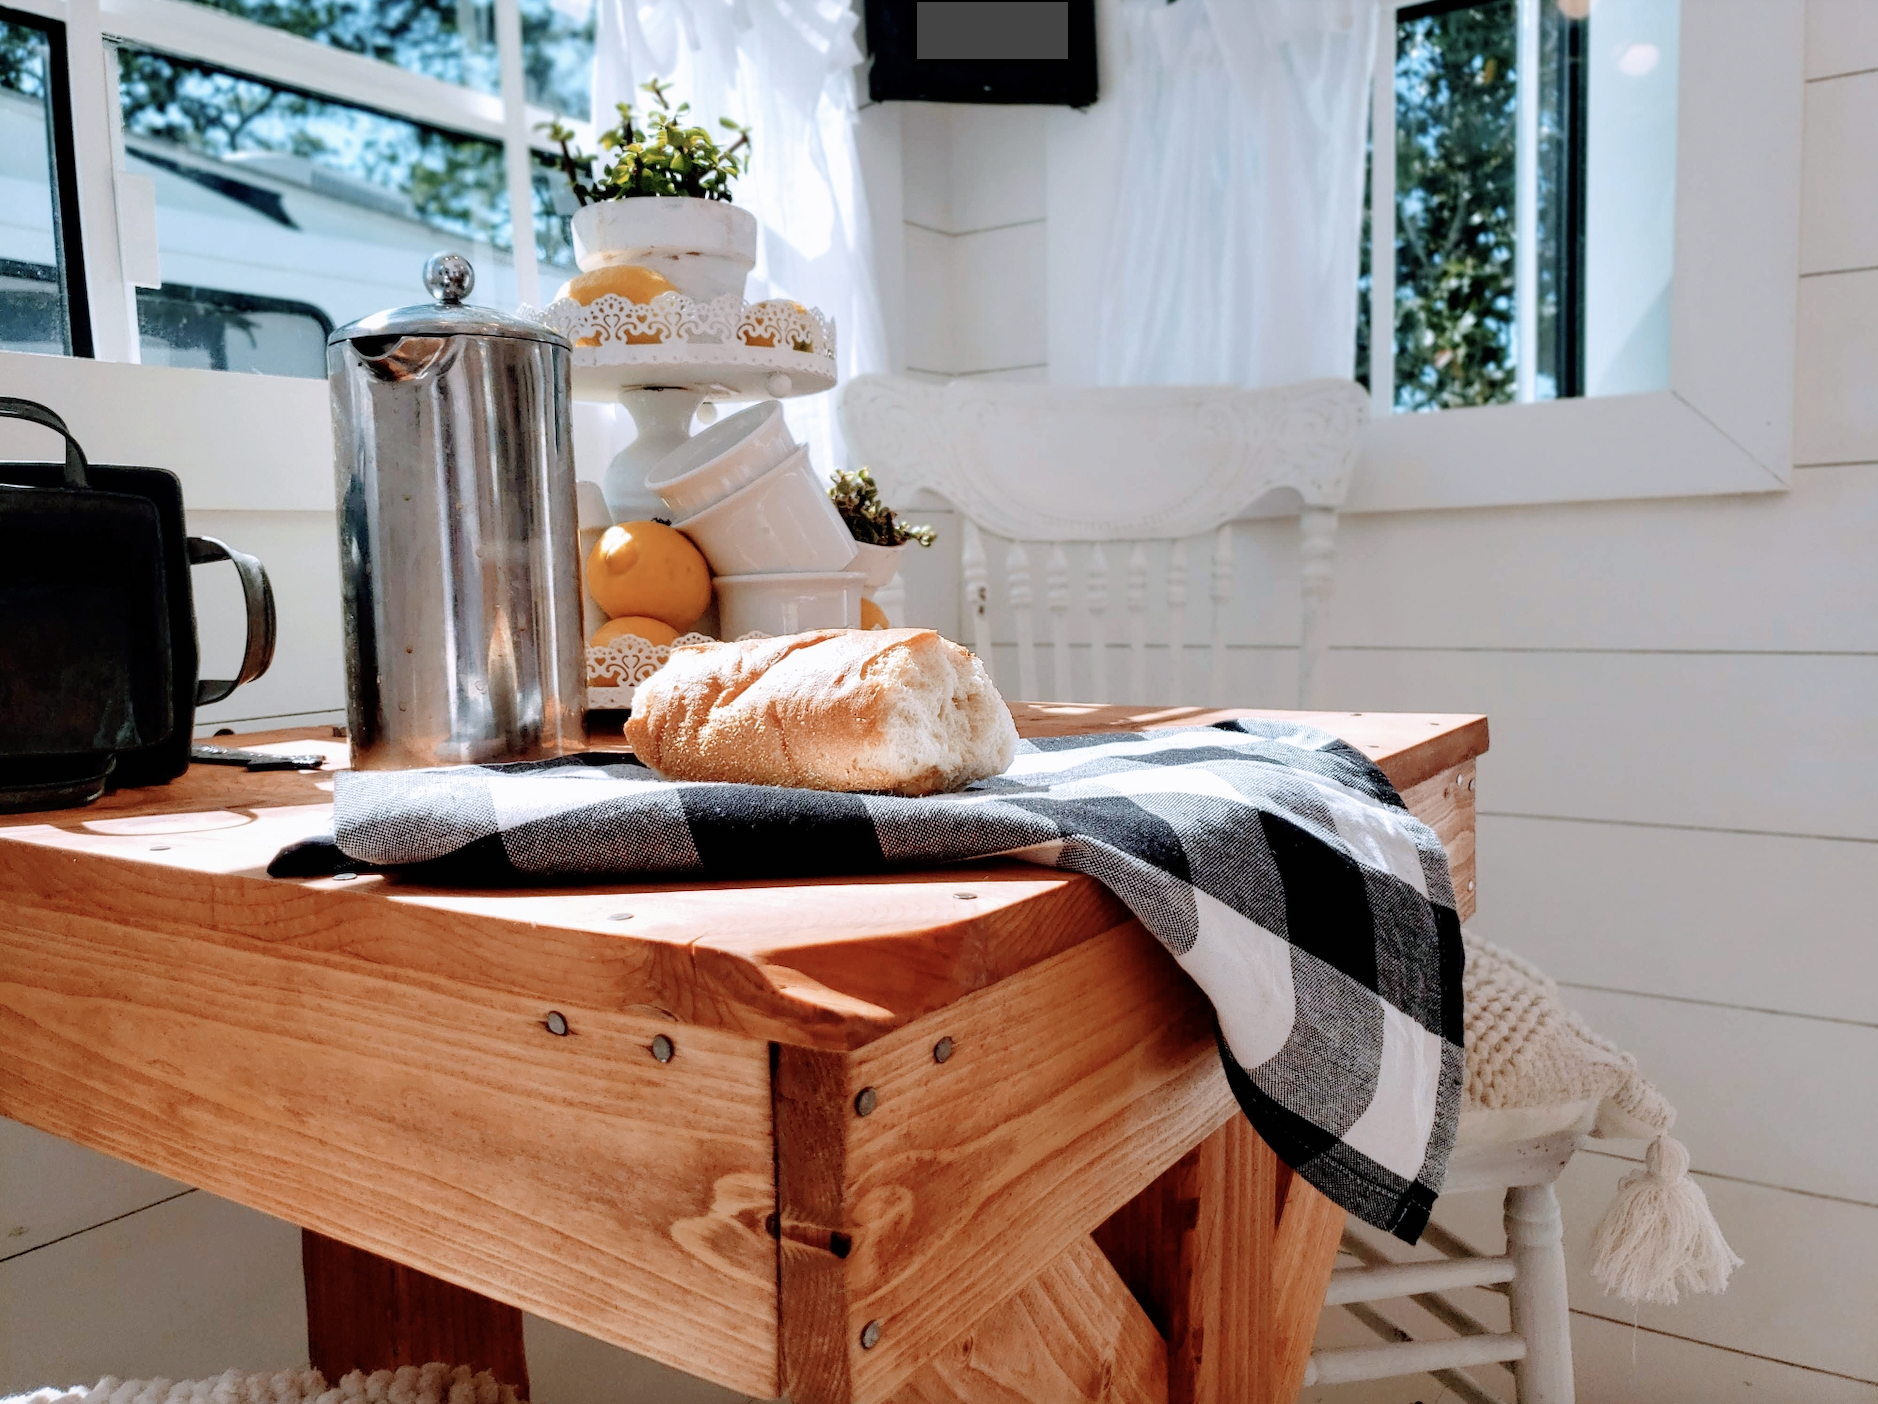
We love the rustic “nailed in” look of the floors (it makes for a great shabby/chic combo), and we intentionally created the milk paint for the chippy, antique look on the ceiling fixtures and furniture…

My man and tools…
First of all, I have to give credit where credit is due: my husband is very talented (in everything he does), and I’ve never seen anything he can’t do or doesn’t turn into a masterpiece. I should post the pics of the bed, tables, cribs, cradles (etc) he’s made for us. Maybe one day. 🙂
In any case, we both worked together on this reno, but he is the one I thank for making my visions come true. He helped me to construct everything just as I envisioned it and explained it.
Of course, this gal right here wasn’t afraid to use the power tools, either! And while he might have secretly come along and fixed all of my mistakes, we don’t need to mention that to anyone. 😉
Please learn from our mistakes…
Hubby and I did all the work ourselves (we utilized and traveled with a battery-operated miter saw, nail guns, circular saw, etc). We literally just renovated while we were staying in it to save money and try to make the best use of our time. Seriously, though, don’t do that. Whatever you do… don’t do that. One of our worst ideas, ever. I’ll save the “why” for another day, but you can get a glimpse of it on the recent podcast, where I share about falling over wood boards with holes in the wall while pregnant, haha! Yeah… not our brightest moment. We had to do all of our cutting during the day, then transfer all the extra wood inside every night if it rained or if we were traveling for work (as we constantly were, hence the RV)… it was so bad. If someone had a secret video camera on the wall, I’m pretty sure the comical and shocking nature of it would have already gone viral. Climbing over wood as if wild forest animals in the middle of the night, just to get to a bathroom where the sink didn’t even work… Oh the stories our children will one day tell our grandchildren. Obviously, that’s not how it was going to go in our heads when we had the grand plan all set out.

On that note… I also saw this great idea for a composting toilet and thought, “Hey, we love natural stuff! Let’s do that!” And, in spite of all my research, “logic” seemingly ran away from me. It didn’t dawn on me that while the concept might work well for a family of 2, that is not the same AT ALL for what it would do for a family of 8. HA! Ummmm… yeah… is this where I can say you live and learn… and then get Luvs? 🙈 Anyone with RV experience knows exactly what mess I got us into. Anyone who doesn’t, just remember: ignorance is bliss.
Homemade Paint
I homemade the paint because I wanted milk paint. It was non-toxic with the method I chose, and that was extremely important. Also, well-made milk paint just can’t be beat (personal preference). Not to mention, I wanted my own shade of “farmhouse white” for the walls, and no one on the market had one that matched what was in my head. They all either carried that cold blue undertone, or went too far on the yellow side, or they looked cream (which everyone knows is not the same thing as farmhouse white). To create my own paint and color, it took a few gallons of milk, some lime, vinegar, some minerals… and many hours of testing different hues/shades/tones from scratch until I got what I wanted.
I intentionally used milk paint and created chippy chairs and ceiling fixtures, as well (it reacts differently on different surfaces, so we utilized it in these areas to give an antique feel). Then, I did a different color for the floors. If you look closely, you’ll see the floors are intentionally contrasting (very subtly) with the white of the walls which really brings a nice depth to the room.
Please learn from my mistakes (take two)
I forgot to write down the exact recipe and coloring minerals I used for the milk paint the first time around, so I then had to duplicate the entire process from the very beginning, finding and creating the color all over again, to match the other half of the room. At least this was an area where the kids could help, so we all had a blast with some “chemistry” and “art”–even if we did get to laugh at “Mommy” for her silly mistakes (and I was secretly crying inside just a little bit lol).
The floors and other woodwork
– The RV has a certain weight limit, so when we replaced the floors, we had to plane down the wood to a certain thickness, so that it was thin enough to not go over limits, while also thick enough to withstand our family (there were other factors we had to consider as well, but that’s a post for another day). Some of it wasn’t done when I took the pics because we were still creating a workaround for the slides, so you’ll see bigger gaps in those areas.
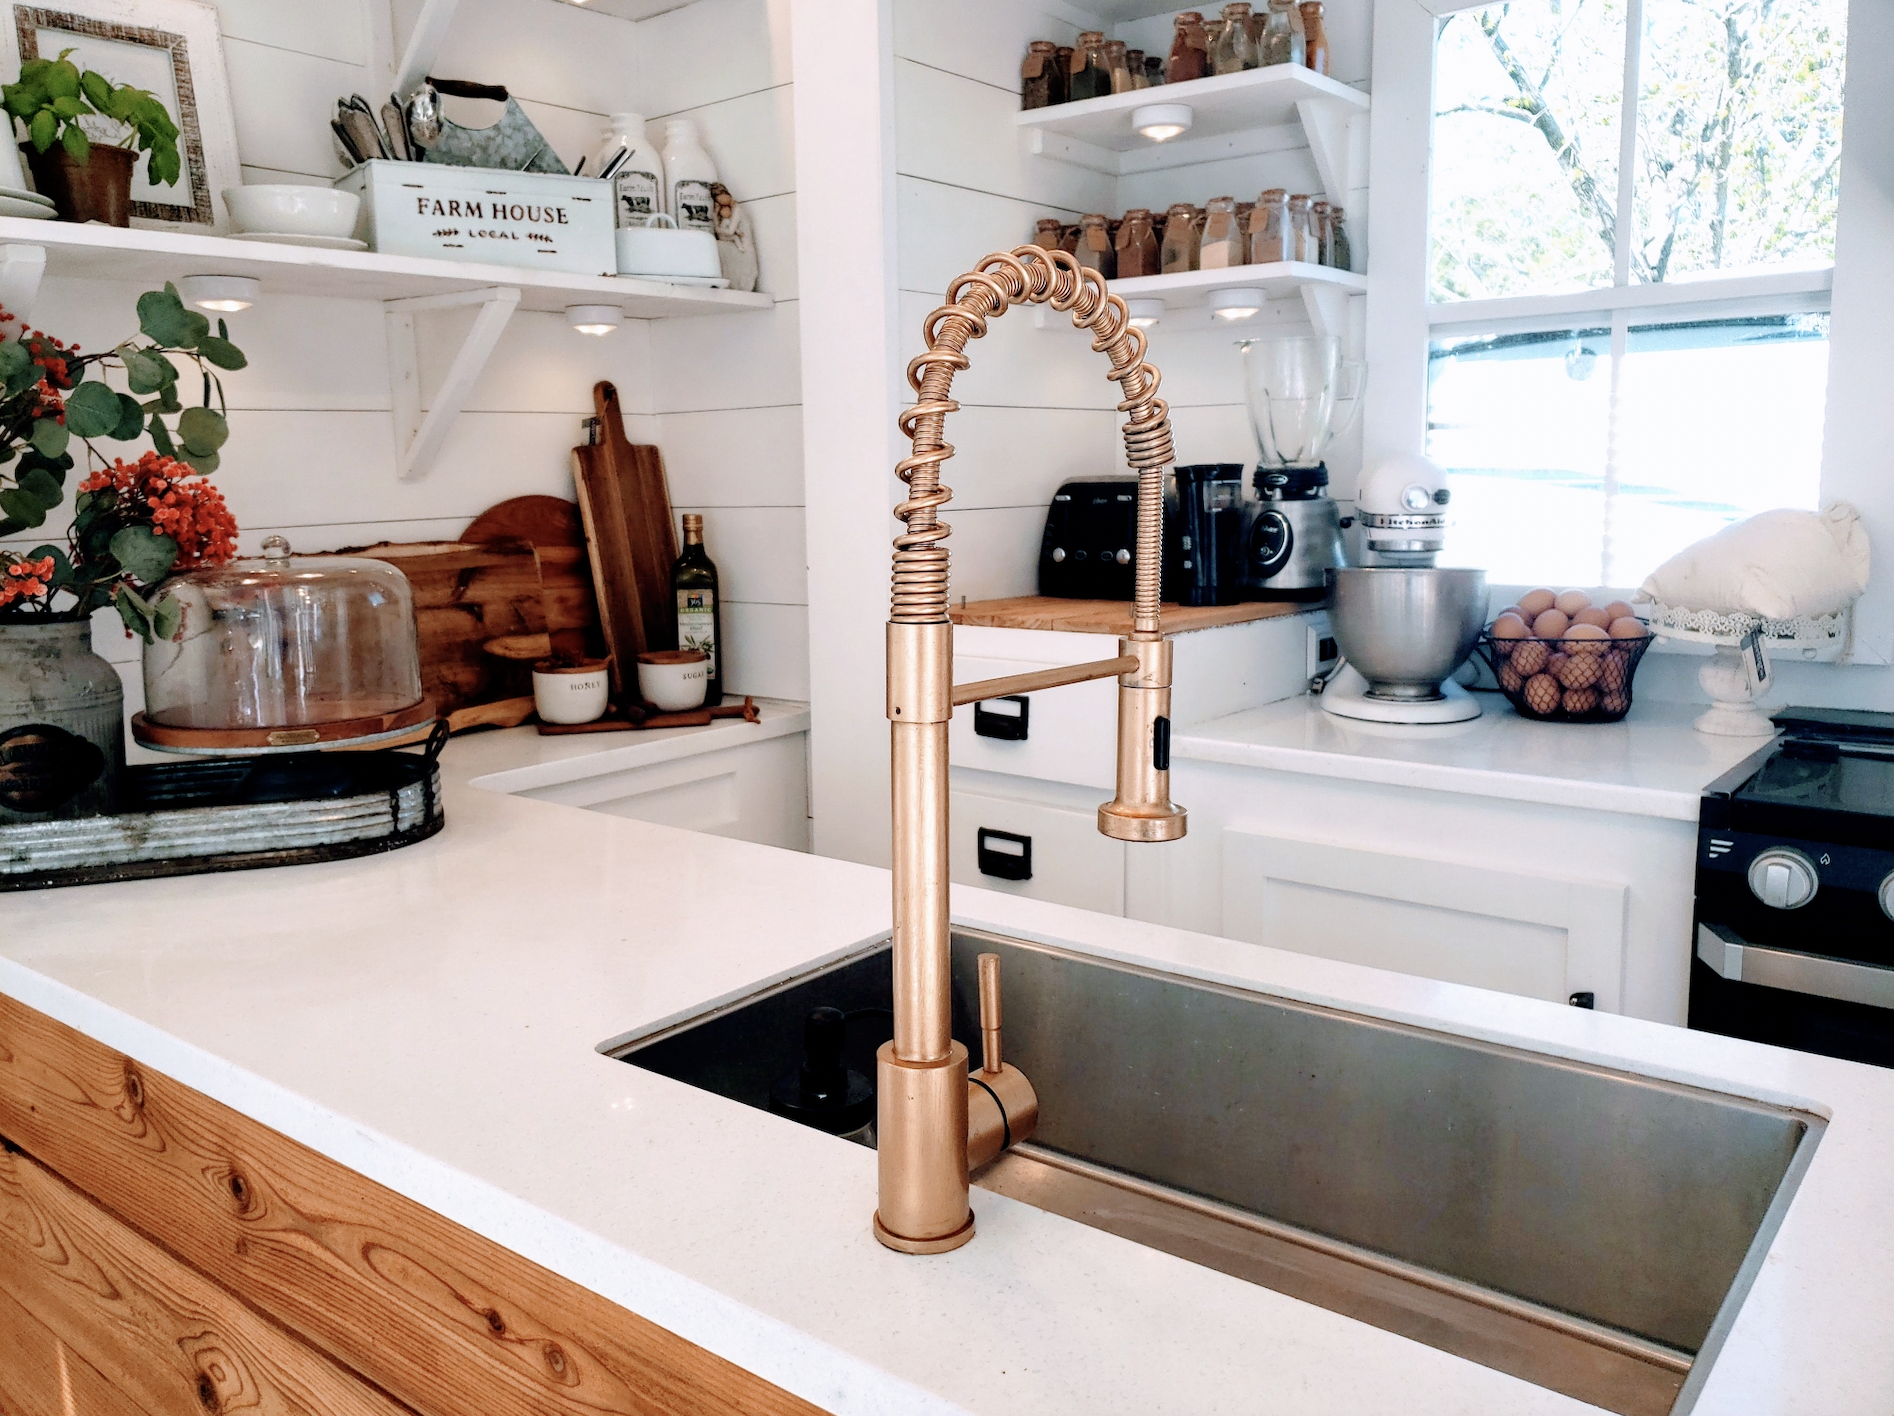
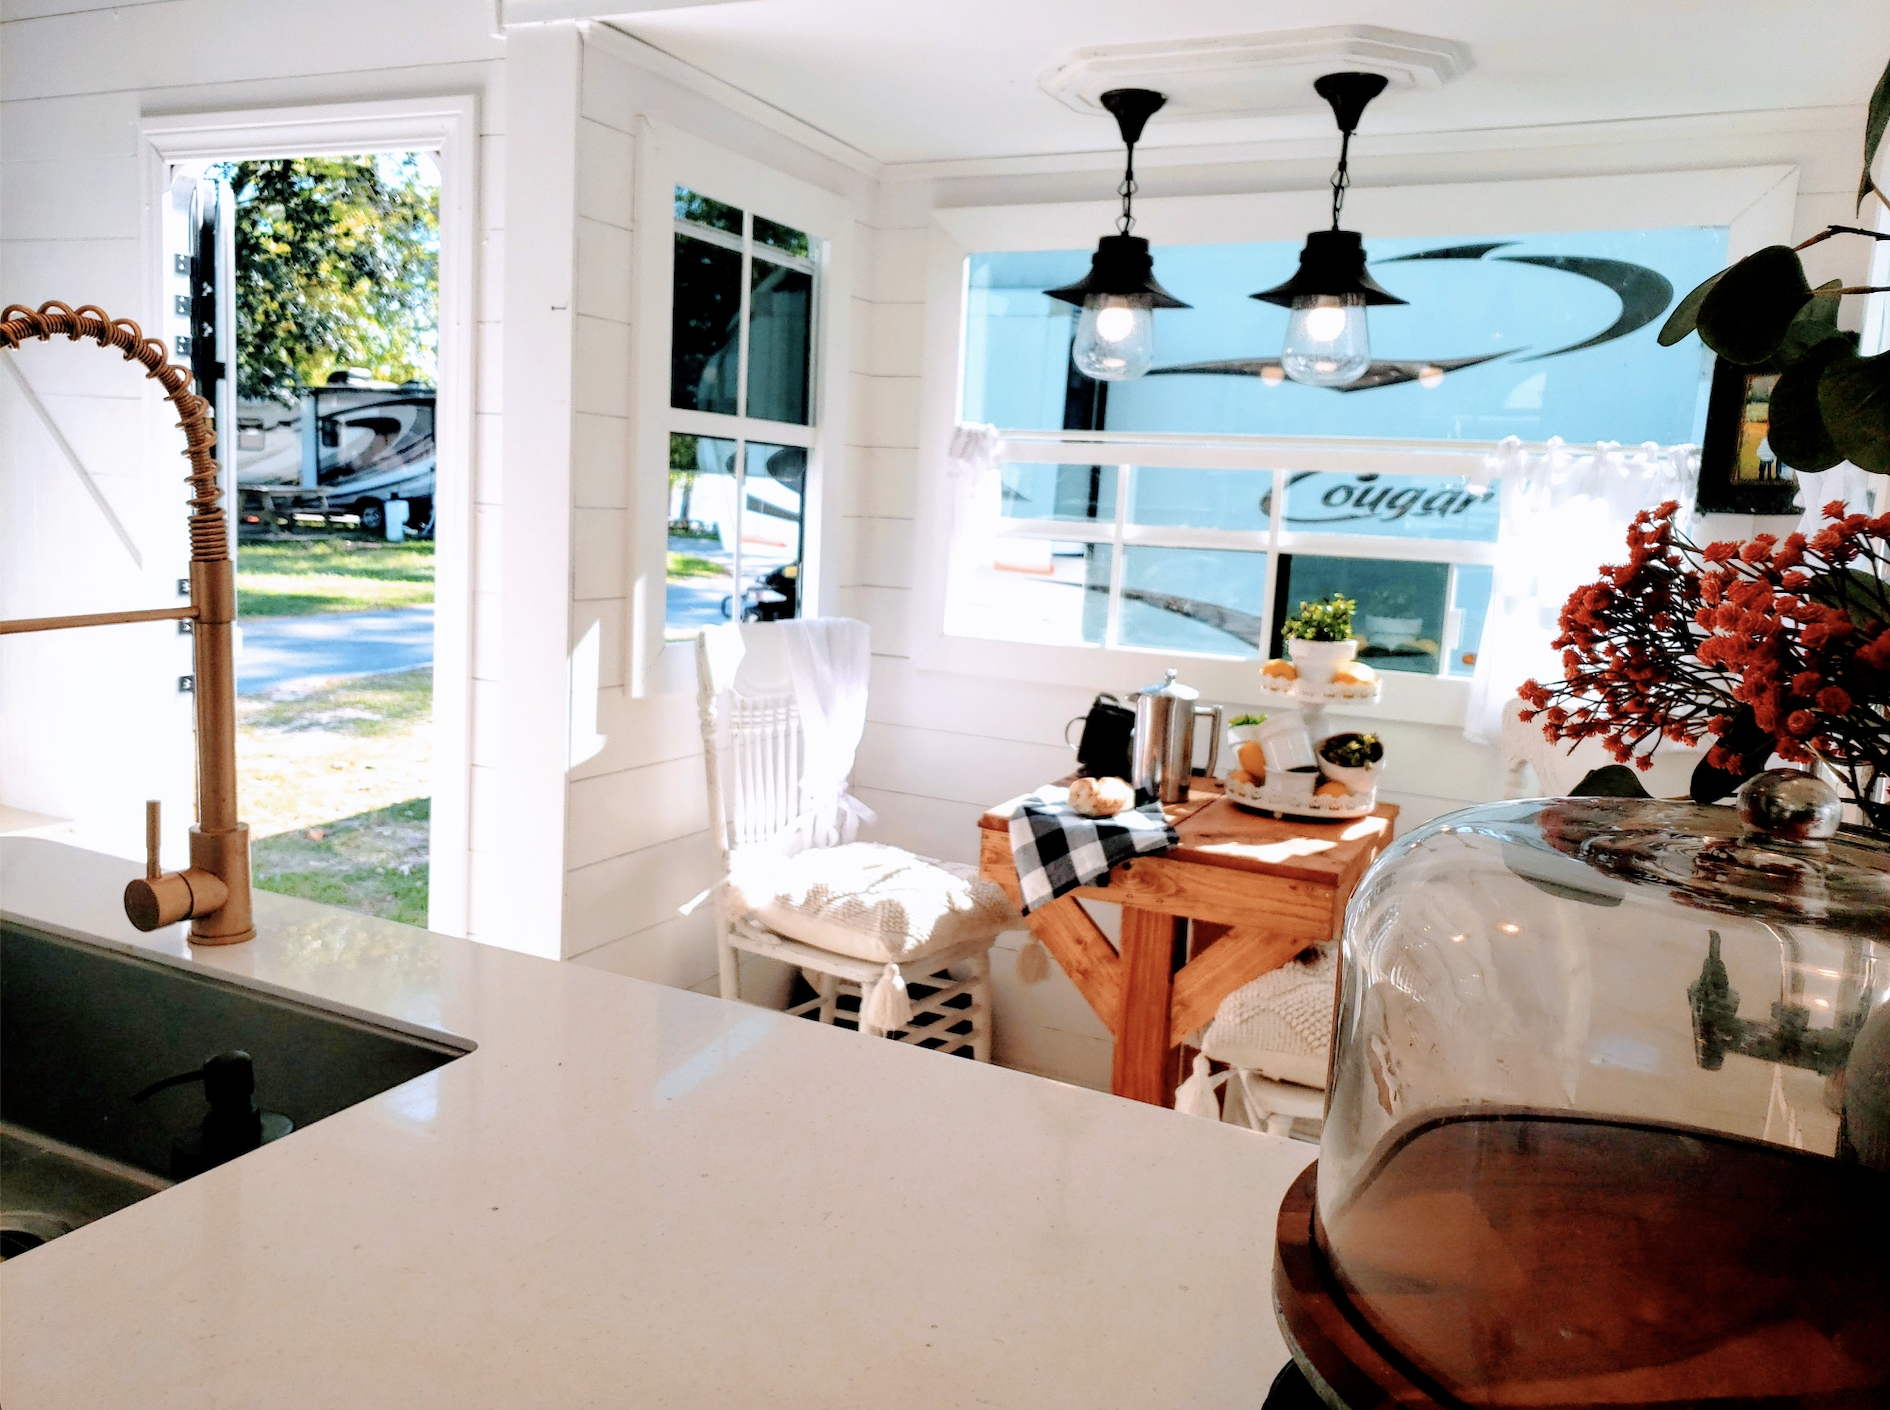
– The cutting boards on the counter (the ones on the left) were homemade by using trees from our yard at our house, using a planer to plane down the wood, sealing, etc…
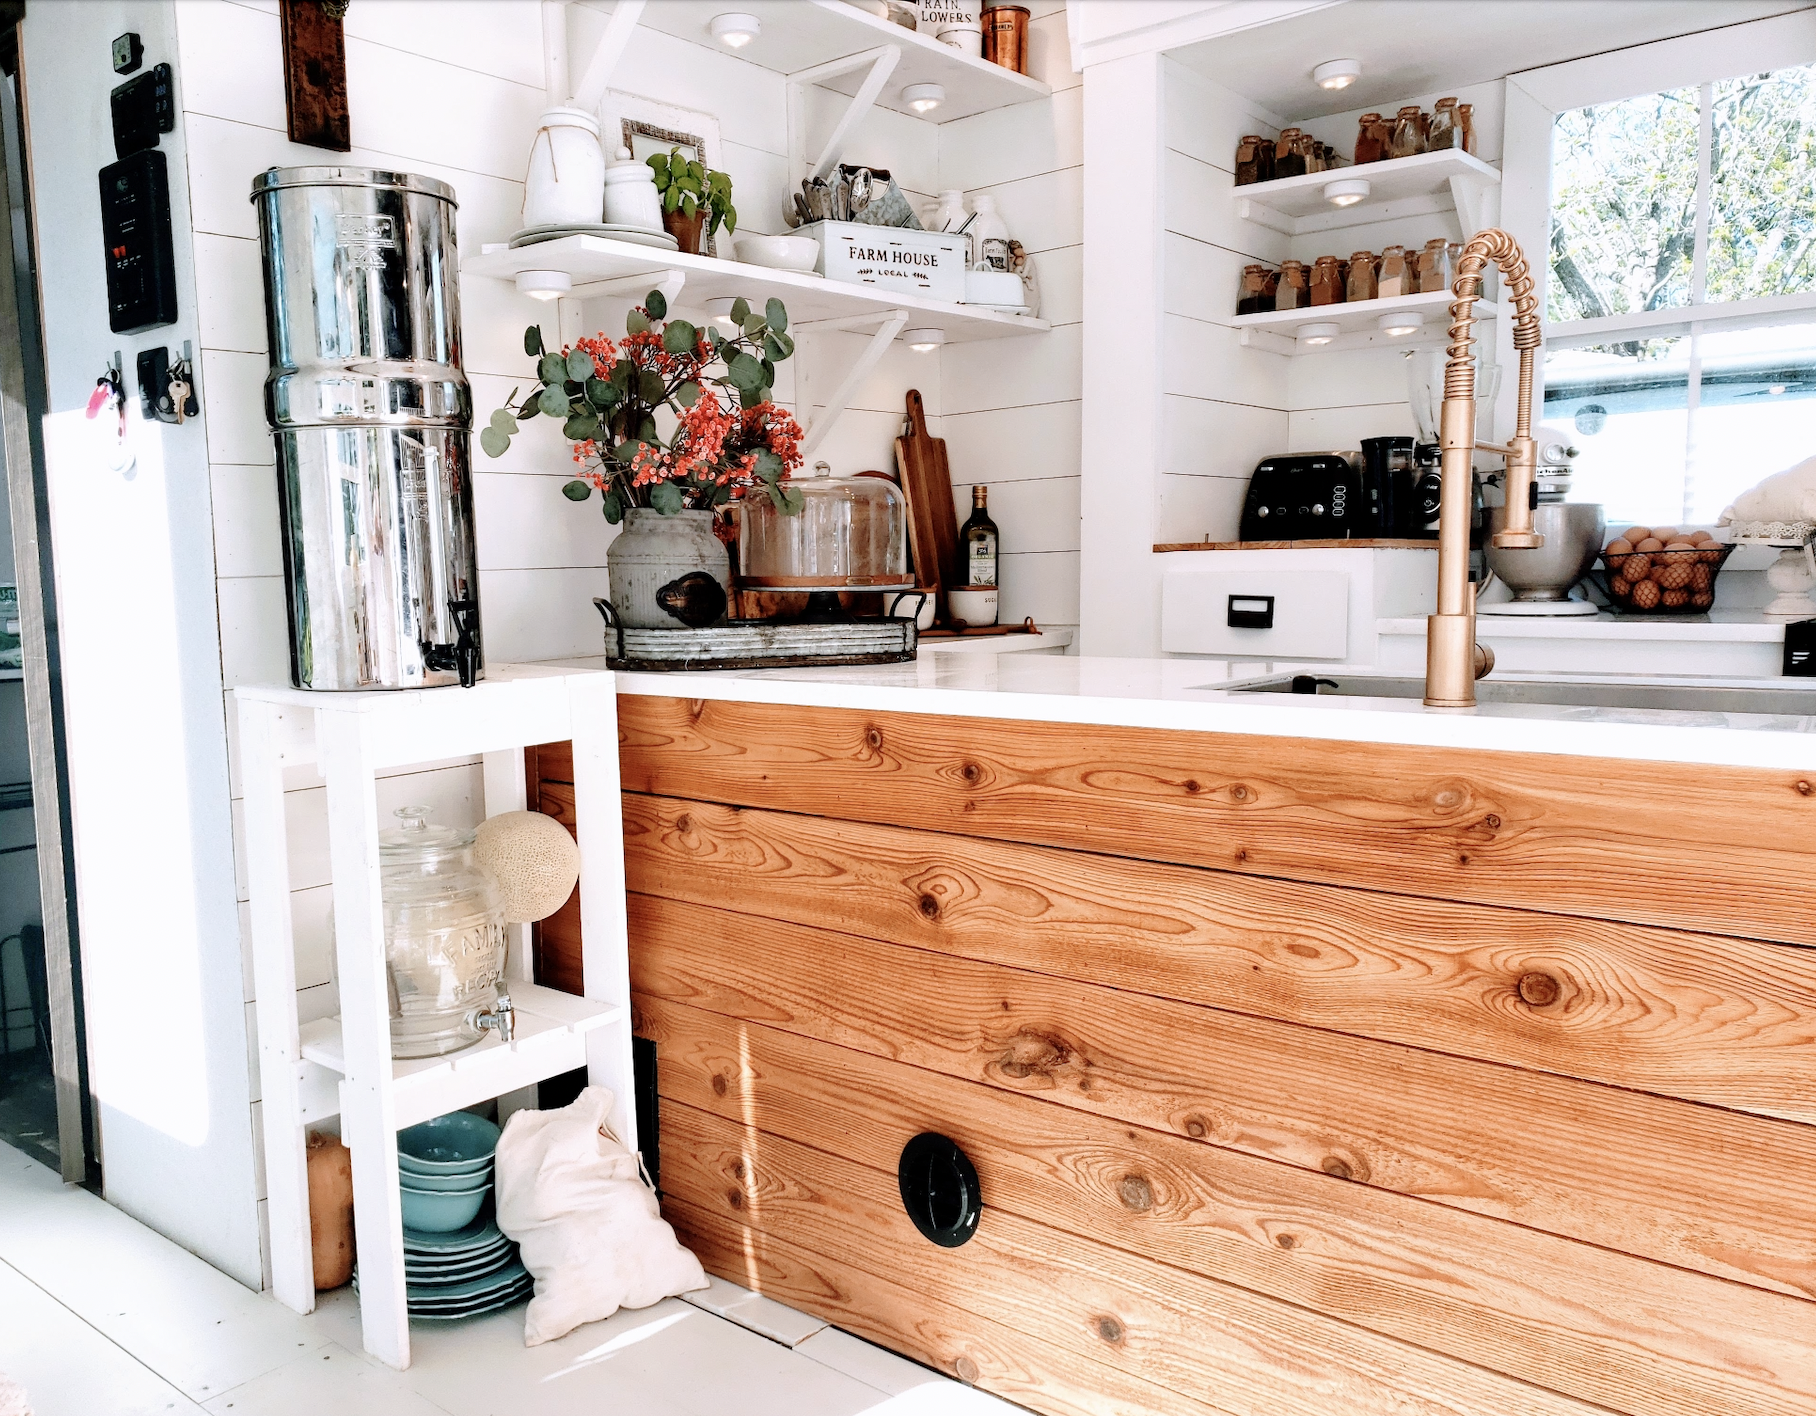
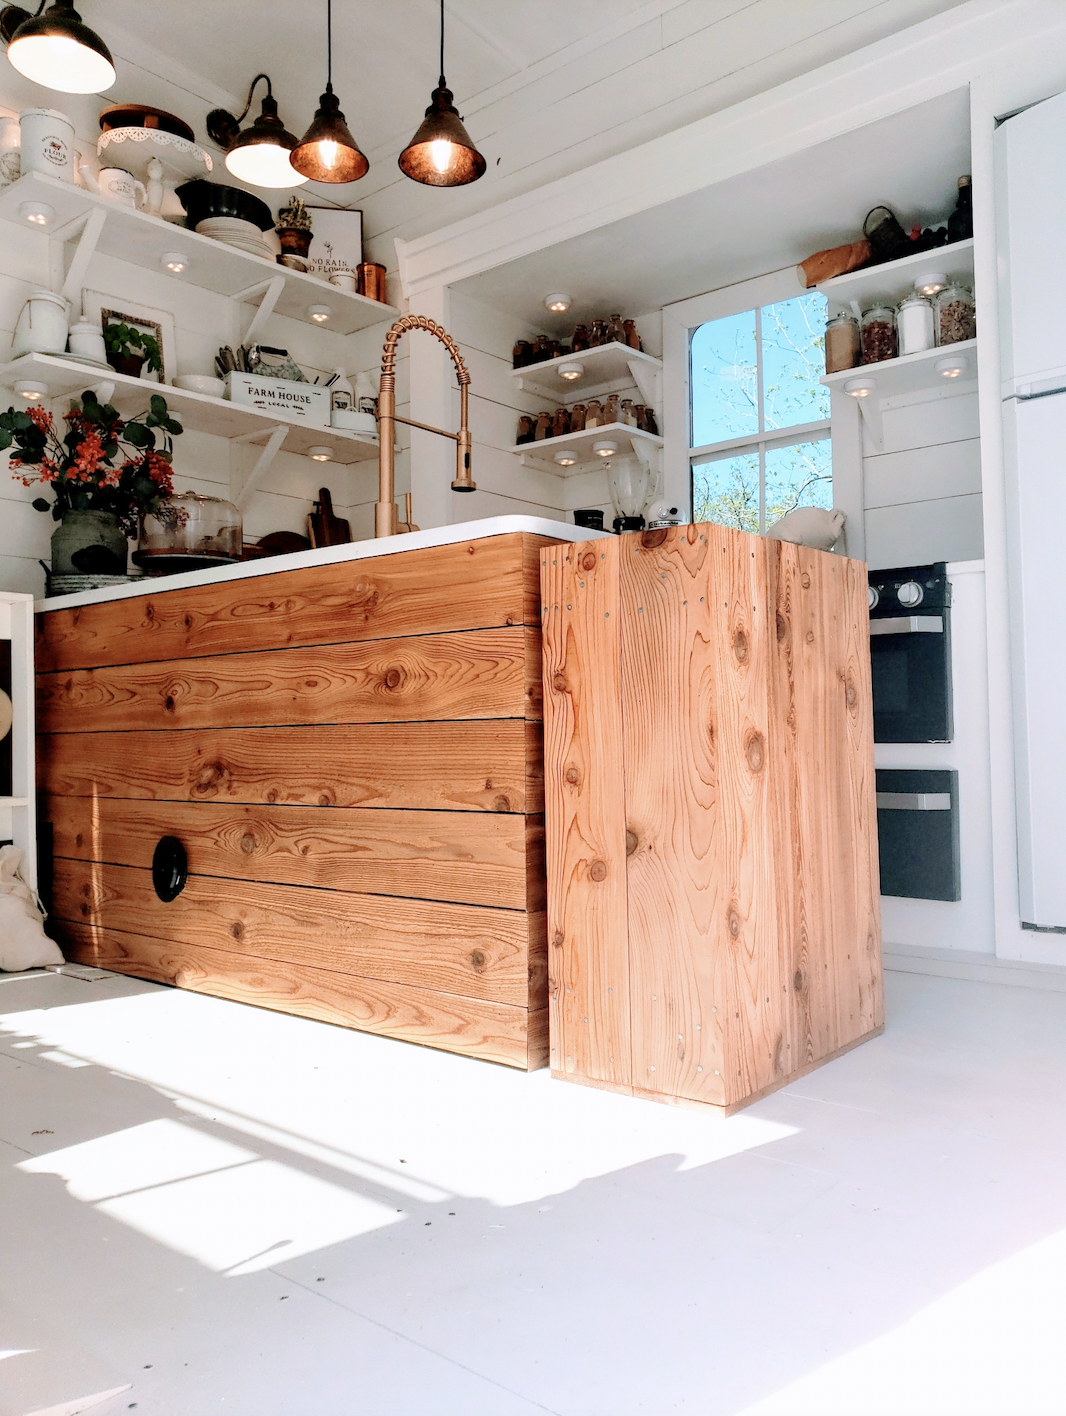
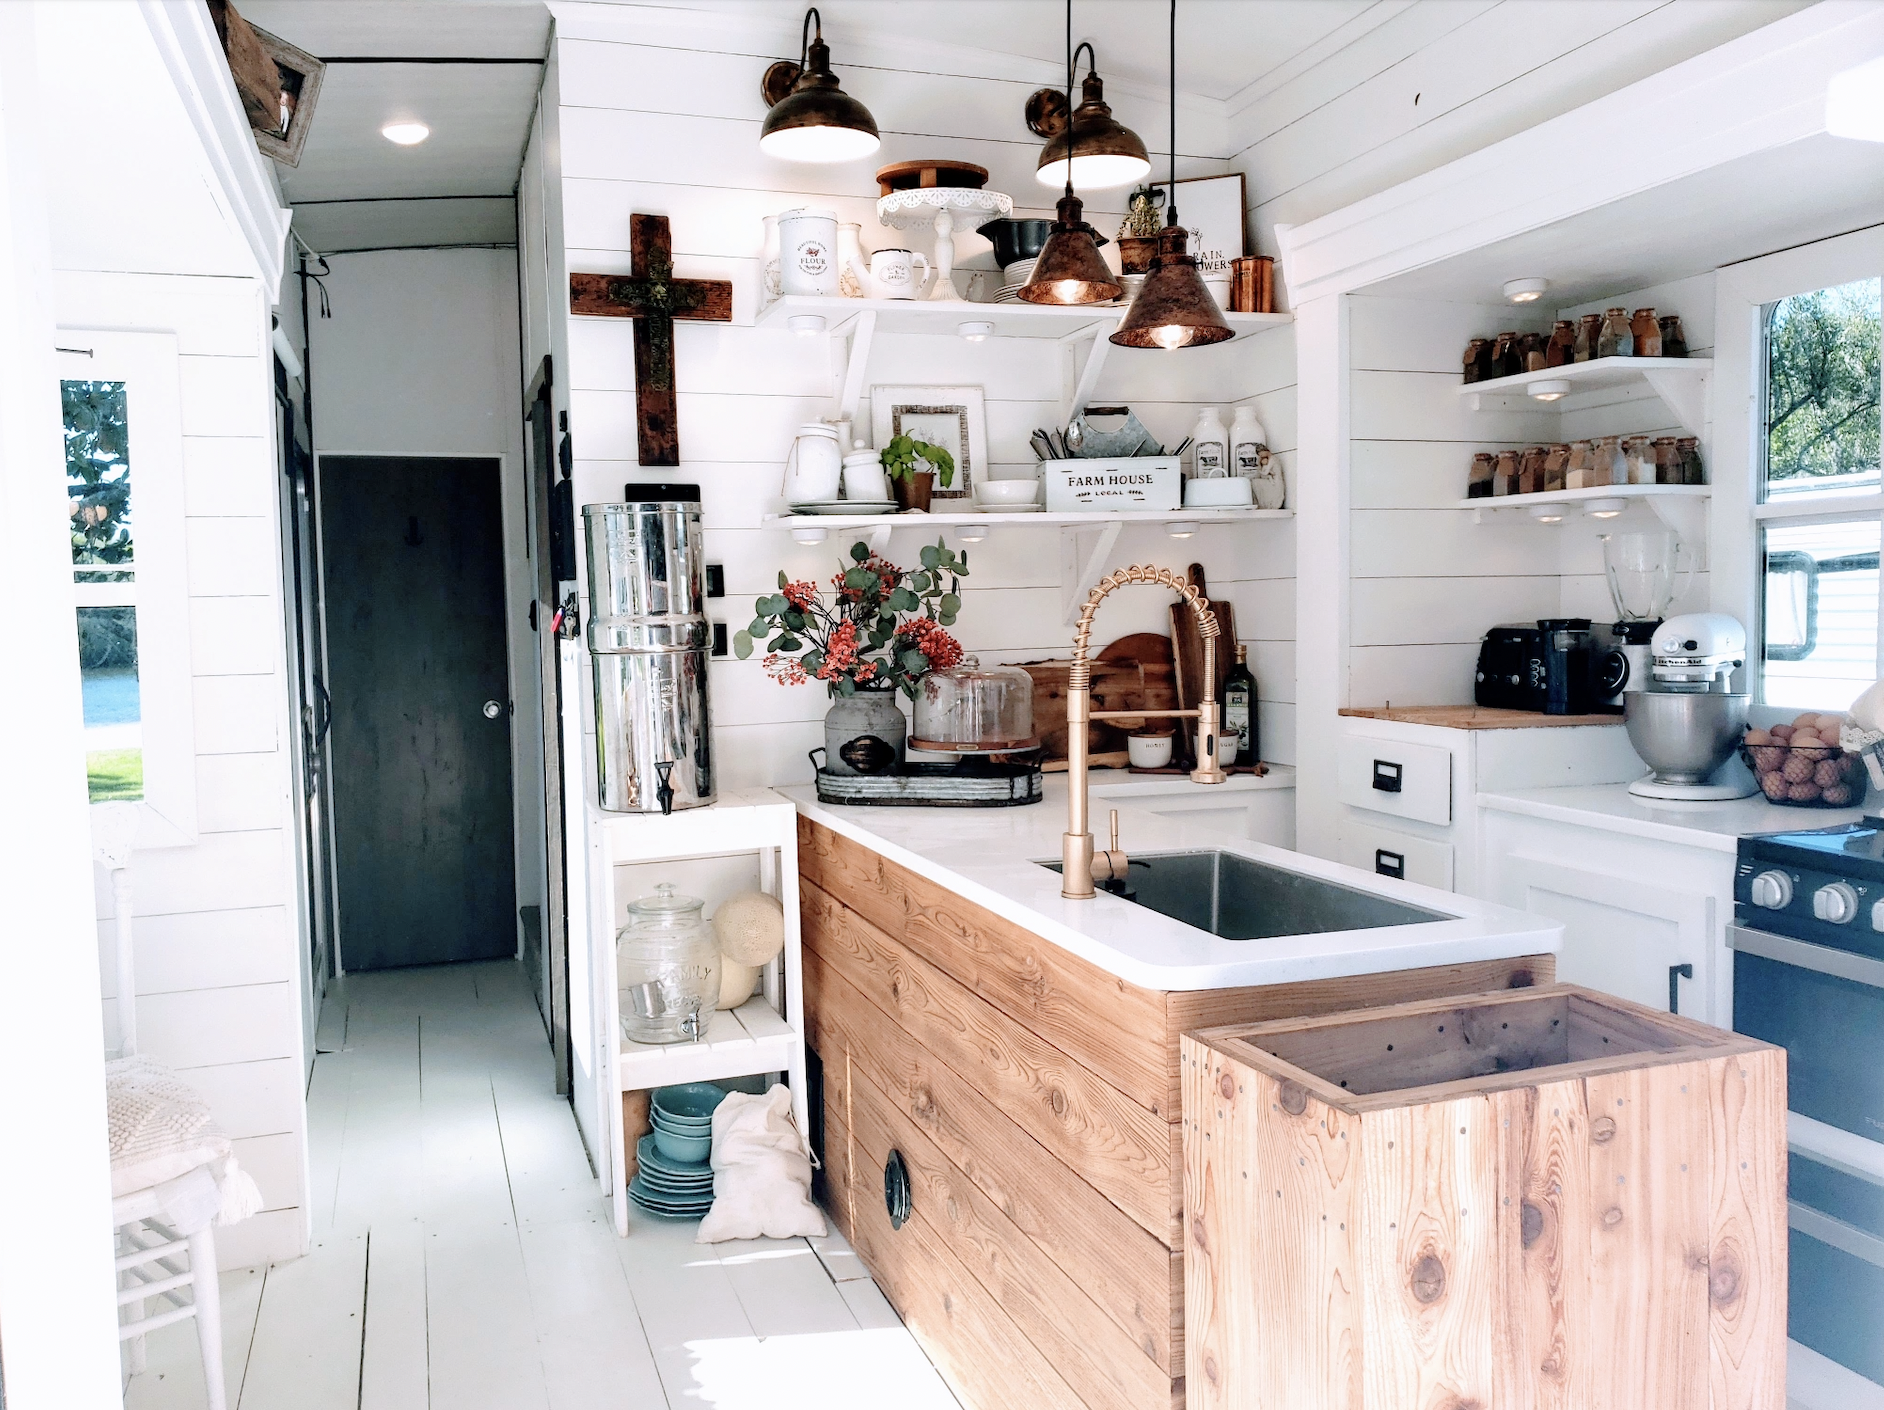
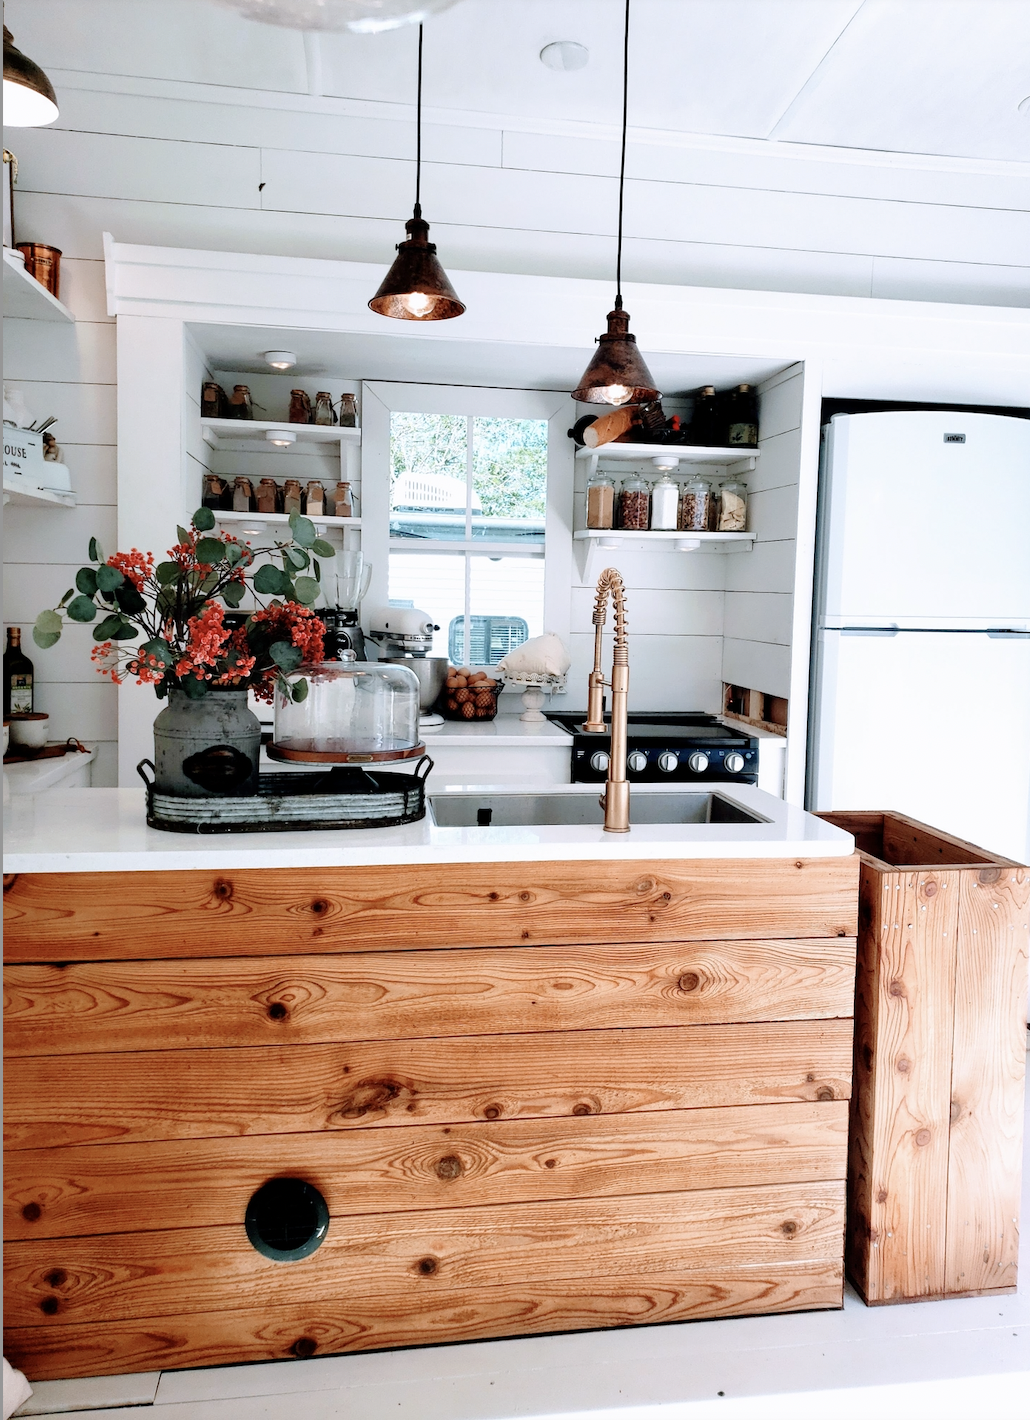
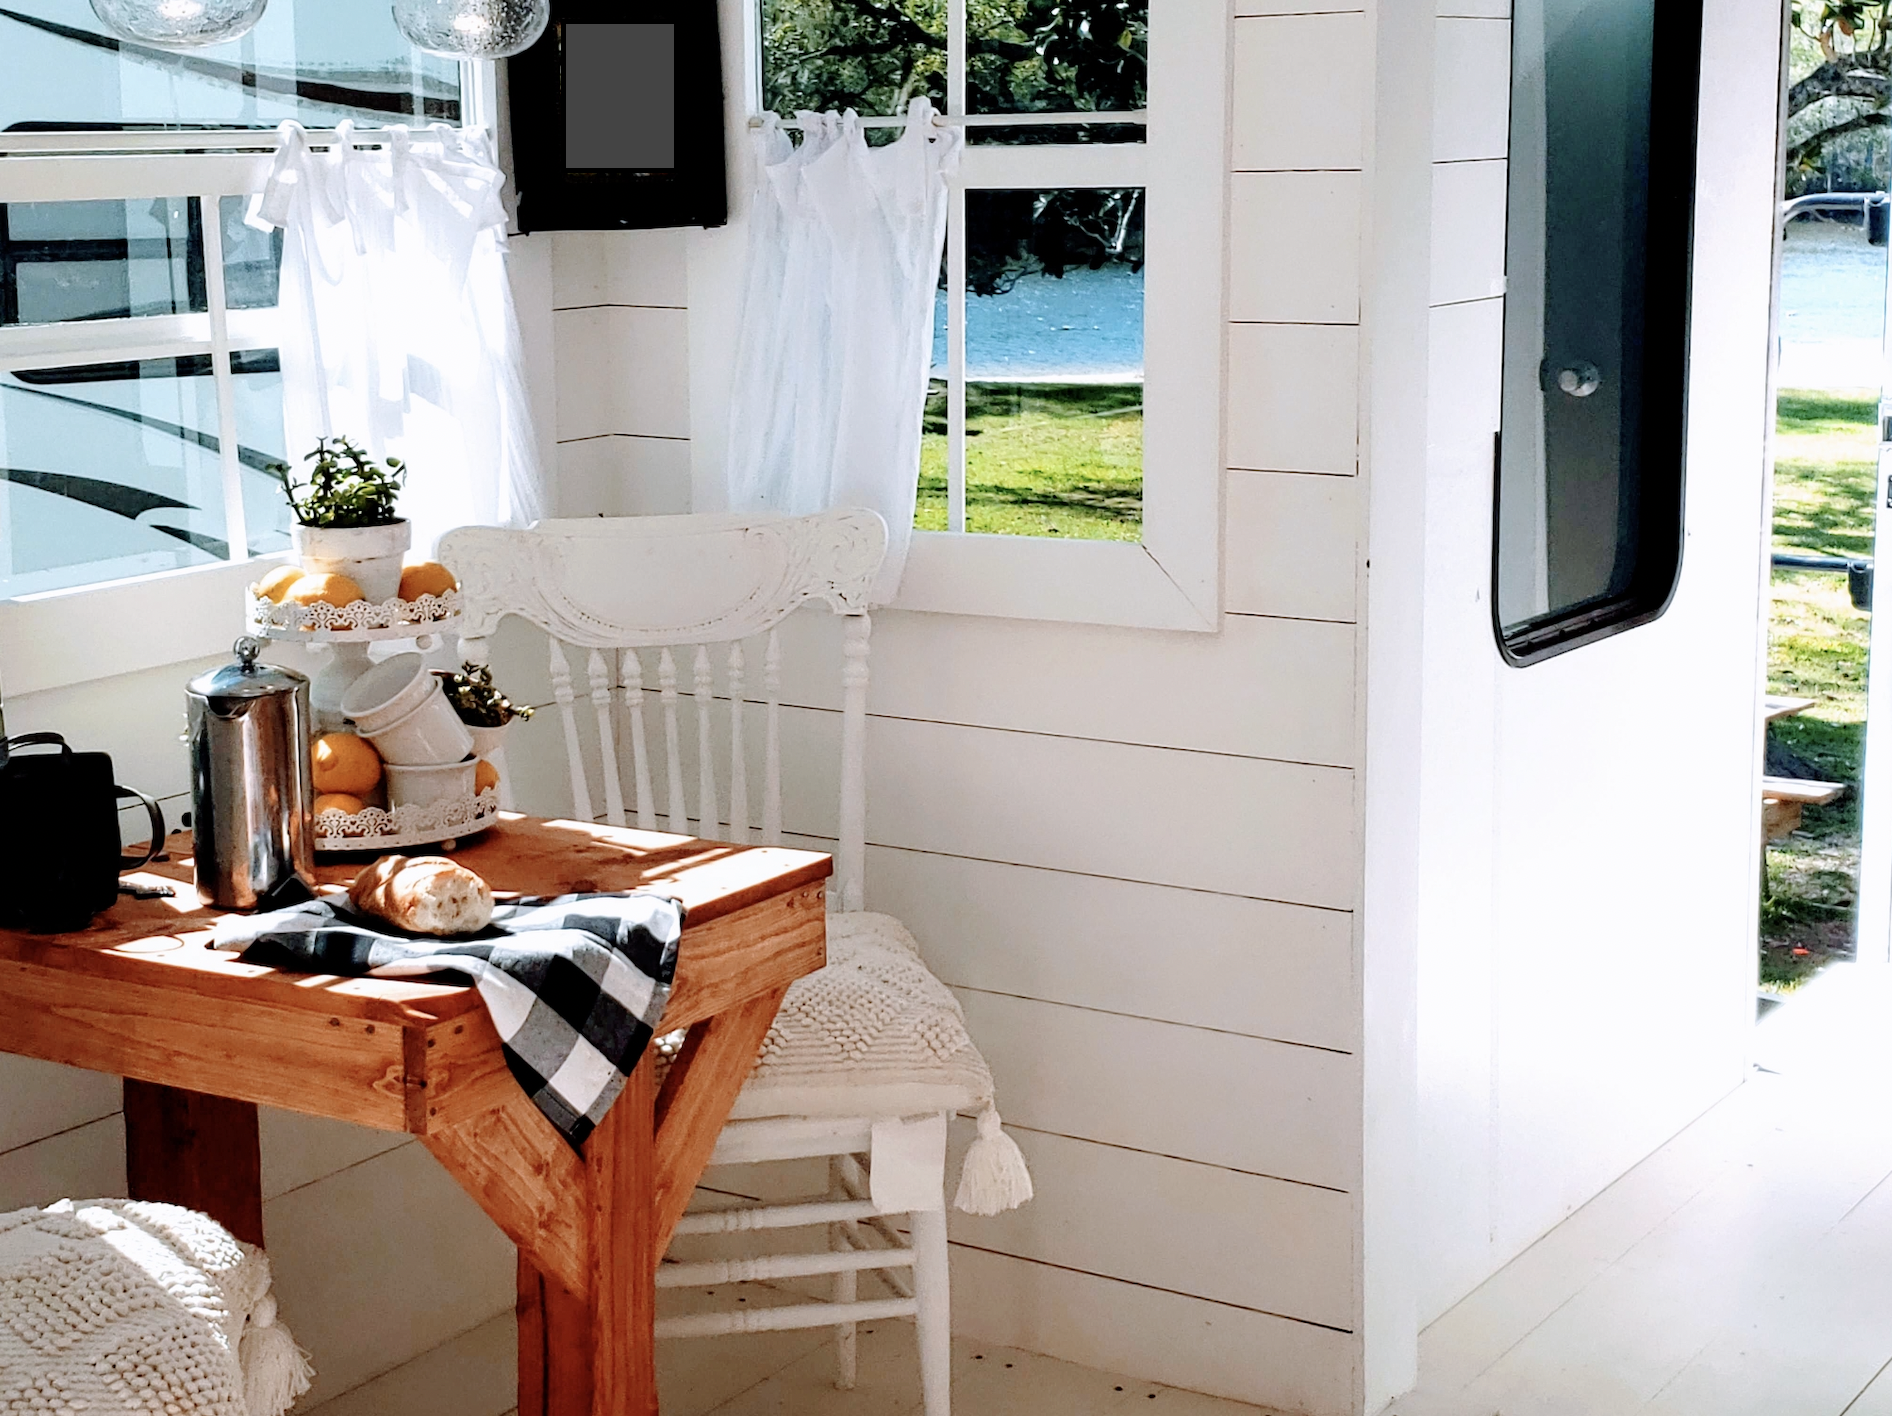
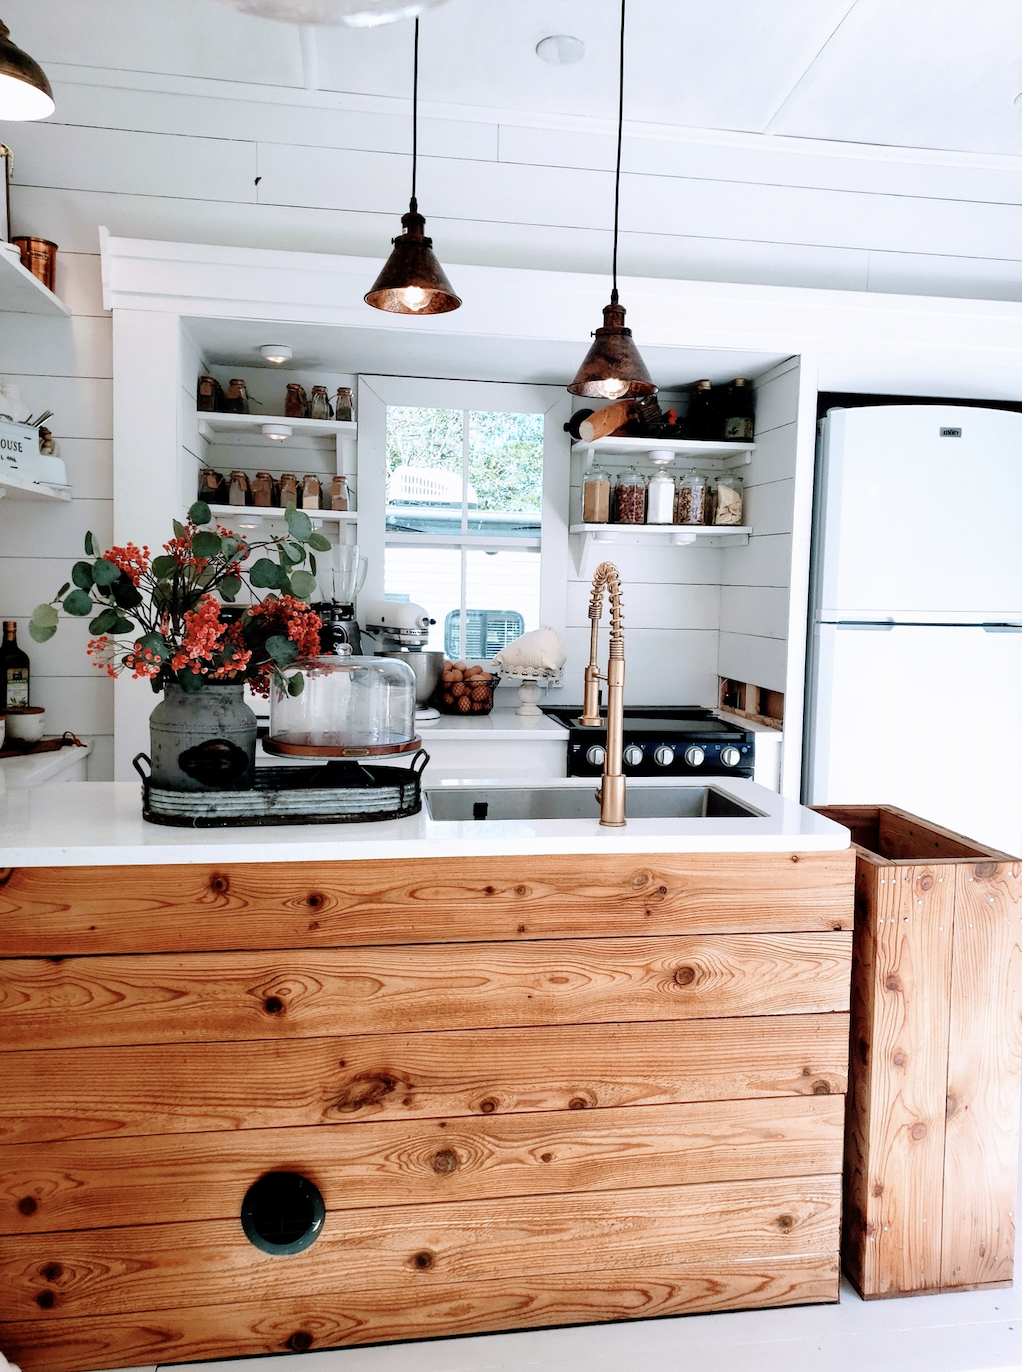
– Hubby custom made the table, bench, and cedar island (we used only a few planks of cedar, and then some leftover pine for all of that). I LOVE the natural look, with nails showing and the rustic side really balancing out the simple elegance. He did it so perfectly! Although, I should mention the hours it took us to go through the wood to pick the exact pieces we wanted for the look was a bit of a fiasco. We are both very detail-oriented people (which I don’t think you’d be able to tell by reading all of the mistakes listed in this blog post!).
– He also designed and built the cedar trash can which is genius and opens like a door on the side (no more trying to pull a heavy trash bag up from the top, and no more bending over the edge of a trashcan to clean the interior bottom of it)! The side of it just swings open. Seriously, it’s my favorite thing in the world. I never thought I’d be saying a trash can was my favorite thing in the world, and yet… here I am not only saying it but putting it down in writing where it can never be taken back haha! Really, guys… it’s perfection. It is so much “perfection” that he has put one in our home, too, lol. This was done with leftover scraps, so it was free. I think we had to buy hinges, but that’s all. You know, they always say that a trash can is the way to a woman’s heart… 😂 Oh, and he also mimicked the look of the nails in the floors to carry over the design into the decor (if “a trash can” can really be “decor” lol).
– We stained the table naturally with a combination of coffee, tea, and minerals, then sealed with natural and non-toxic sealant.
– We added shiplap (again, keeping weight limits in mind).
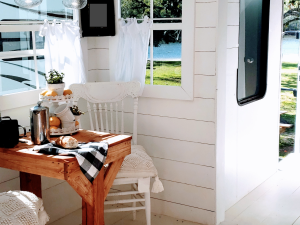
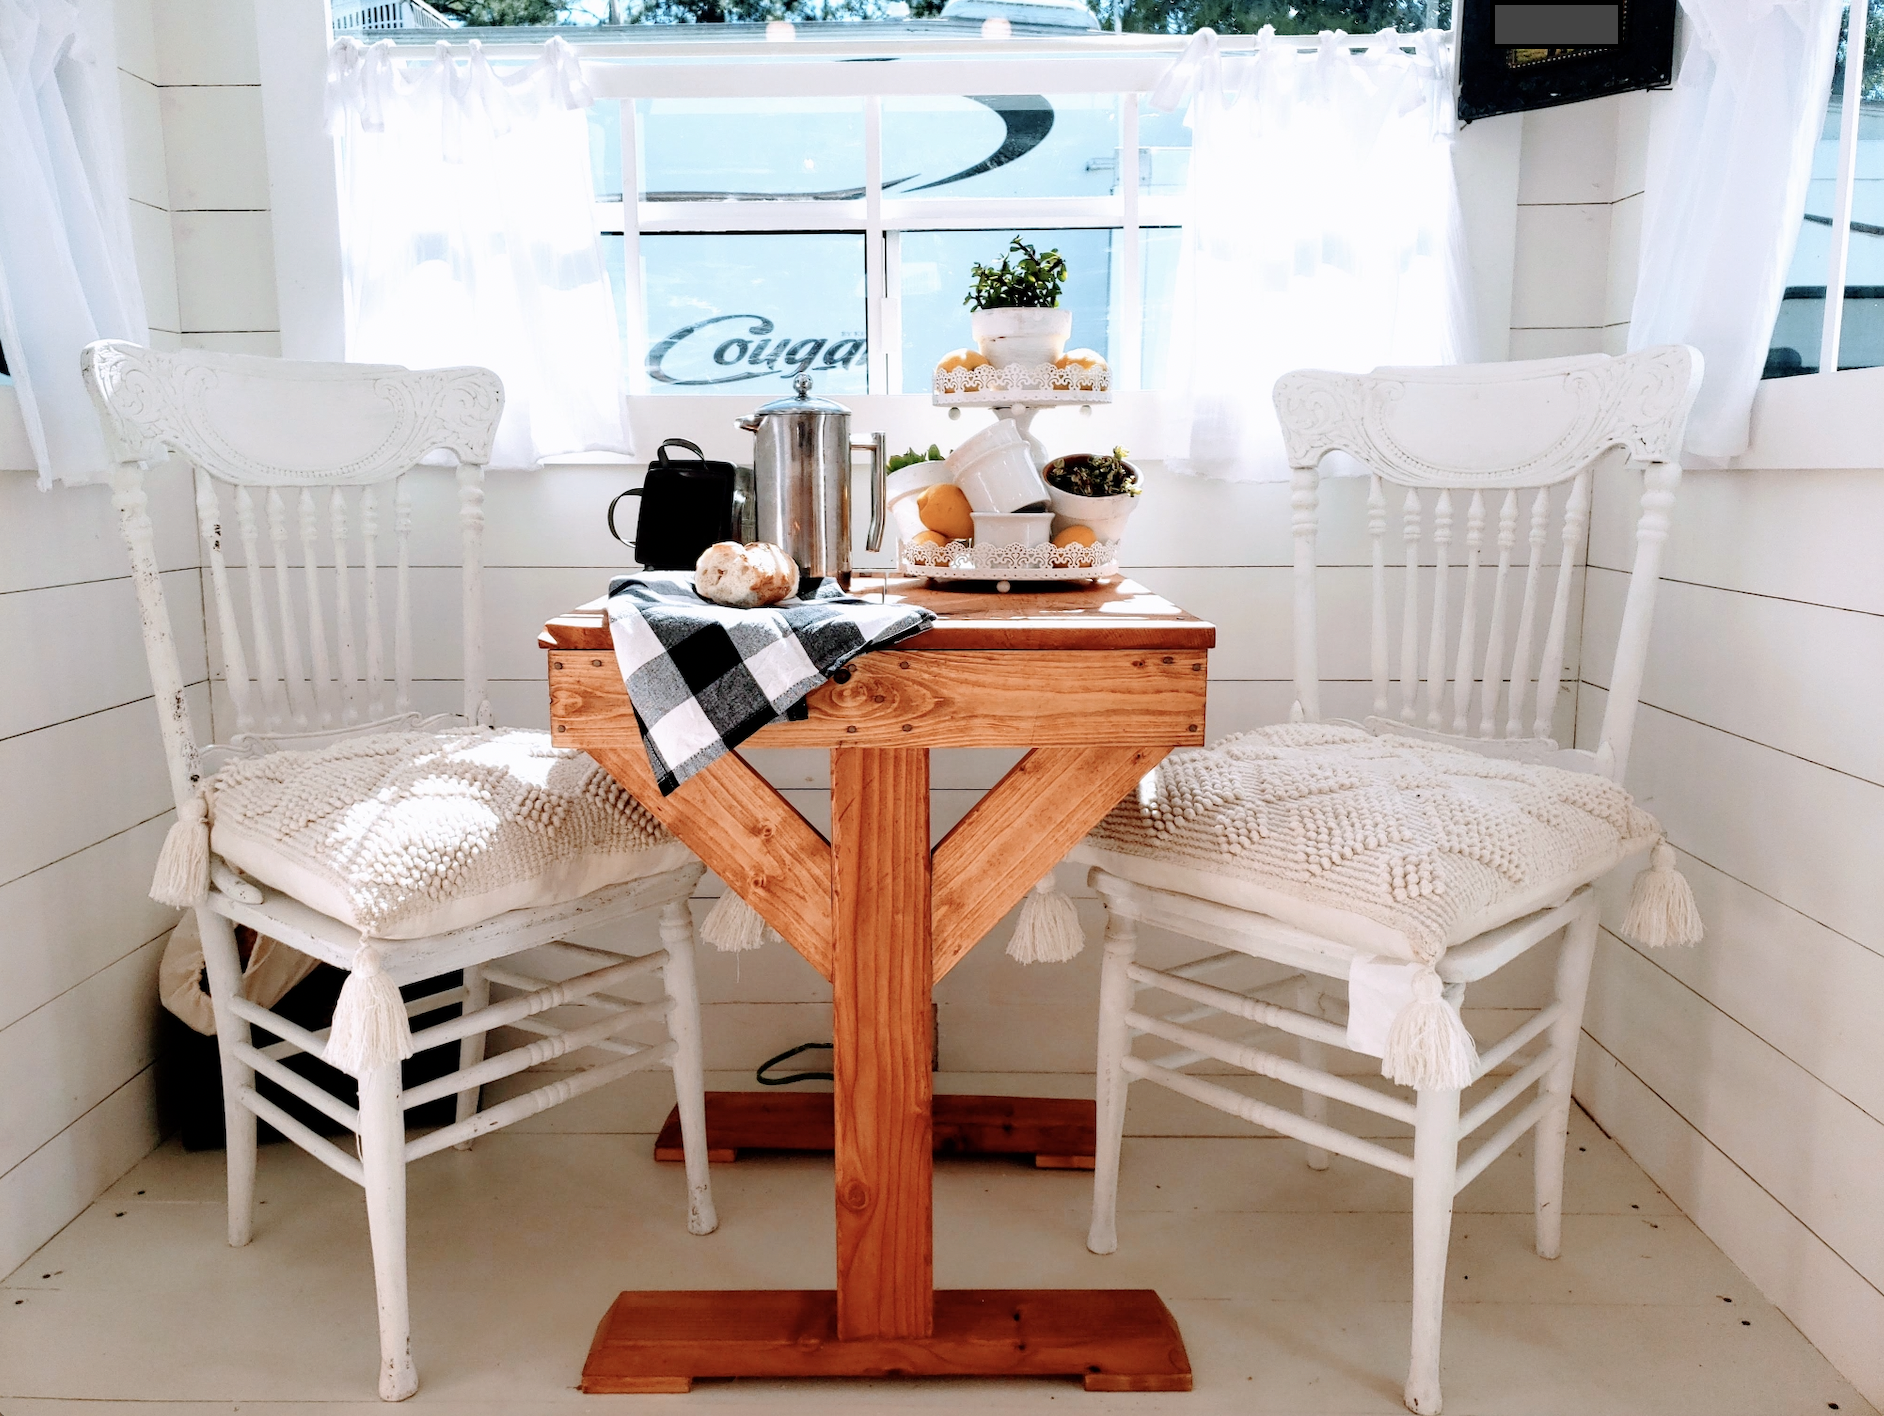
– Hubby made the dining table so that it has a fold out from the underside and can fit our whole family when desired. Otherwise, it serves as a breakfast nook where we can read our Bible and drink coffee. This was made from leftover wood from other projects, so it was free except some hinges. Same with the bench he made.
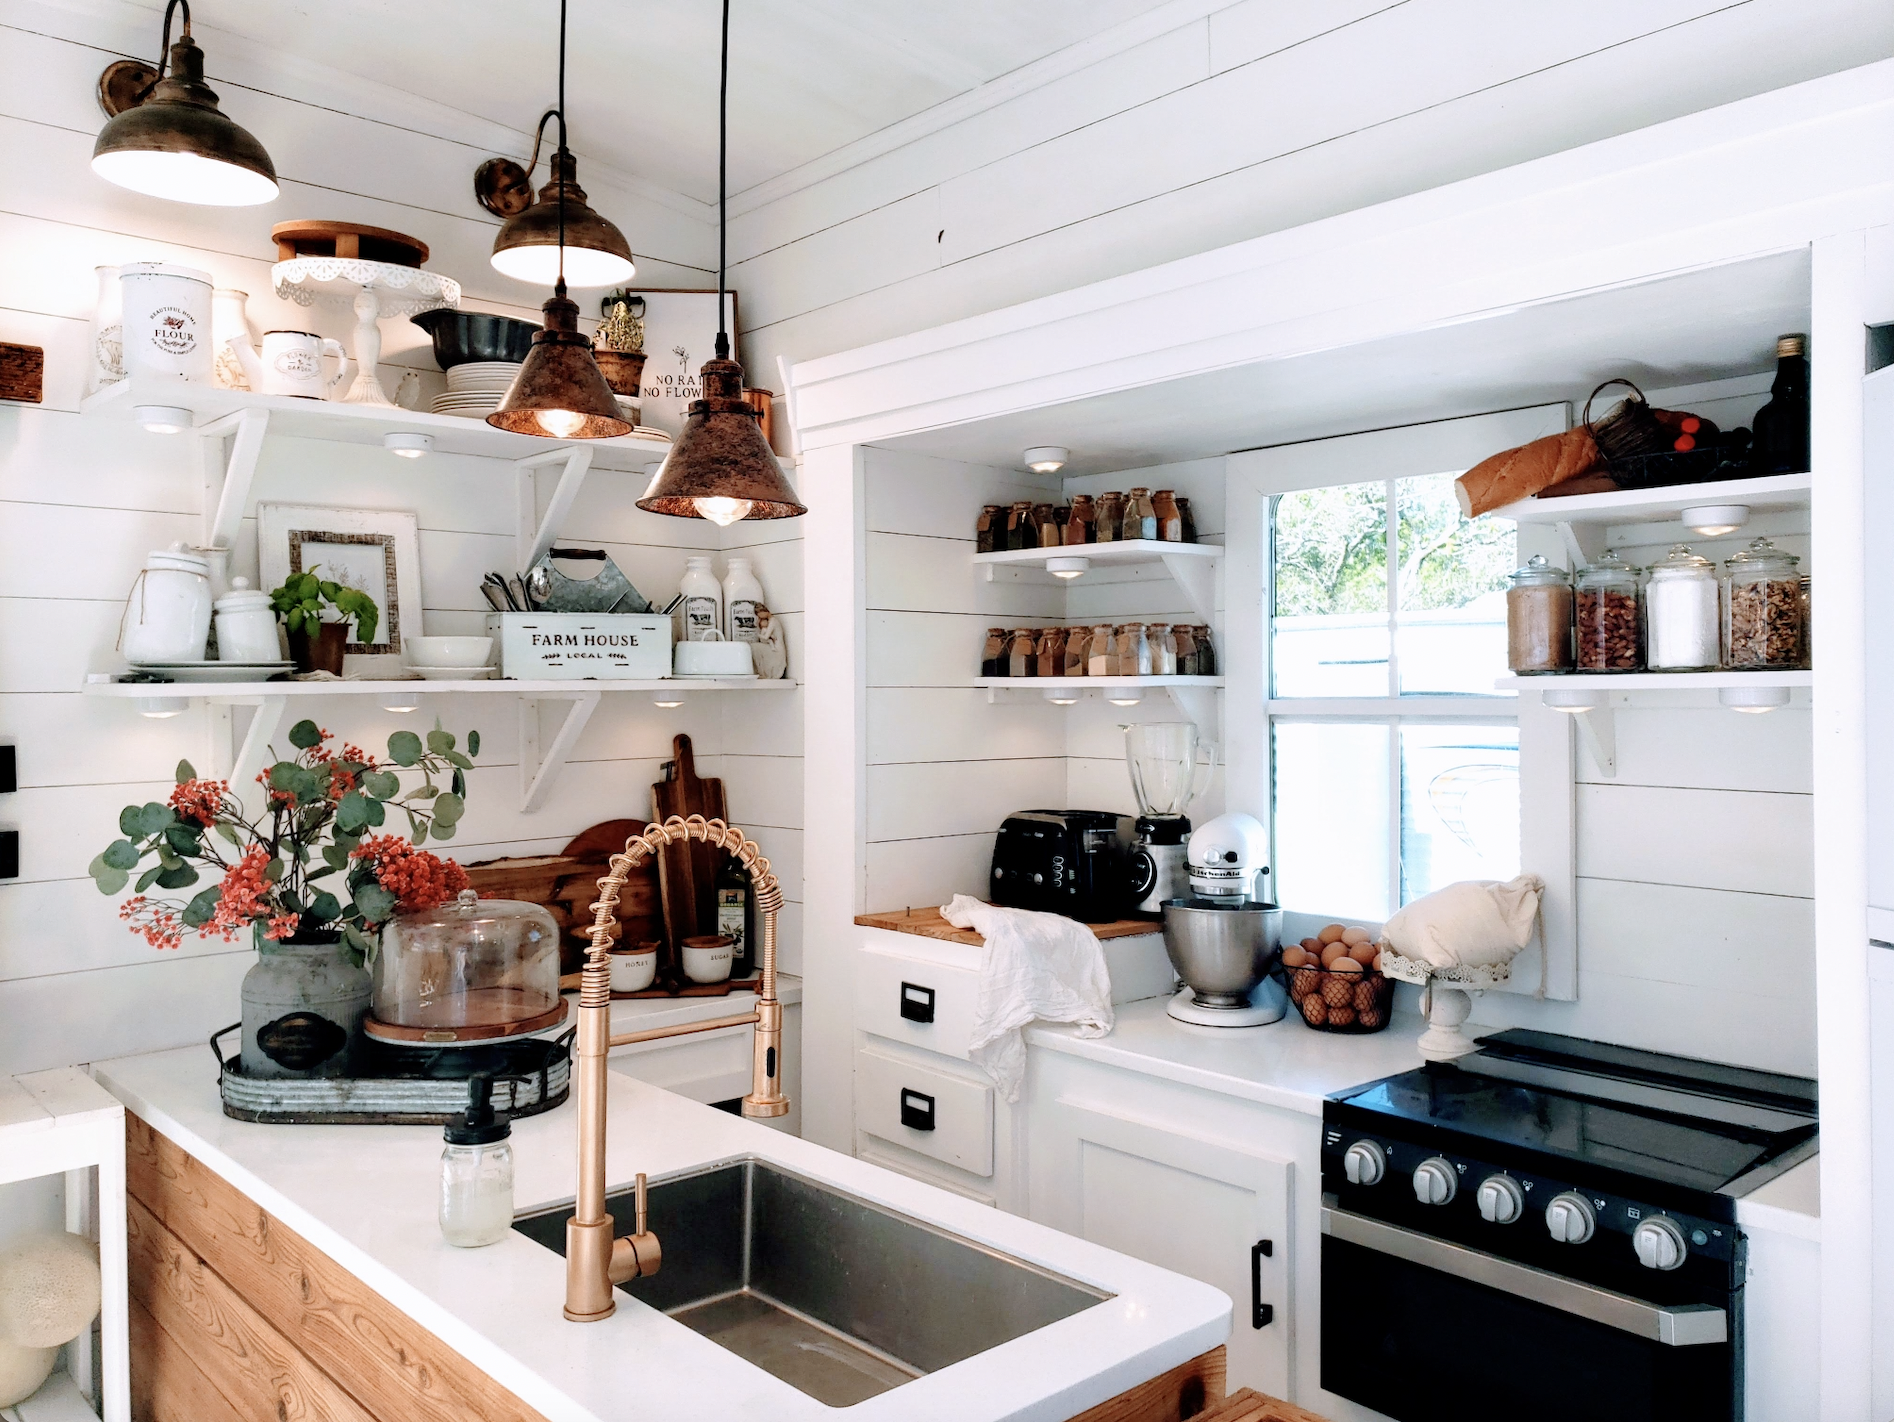
– We demolished an entire section of cabinetry and removed microwave/cabinets, then custom made butcher block because I cook so much. The space was better utilized that way, and we added so much storage space in other areas. The butcher block on the back corner also really felt like it brought everything together. It would have looked too cold without the warmth of the natural wood on the far back side, so it was really the perfect finish for what we were looking for to balance everything.
– We replaced the cabinetry and added different shelves inside the lower cabinets (for better use of space—it tripled what we had before).
– We created a secret compartment under the stairway and living area (which isn’t so secret since we’re publicizing it haha)… its purpose was just to hold extra canned goods and flour or whatnot. It was just blocked-off empty space before, and this gave us about 6 more shelves, as well as extra support. It added SO much storage space. This was just labor, which was free since we did it ourselves.
– We added frames and windows
– We added crown molding and skinny lap and chair rails (still keeping in mind weight limitations).
The new window and fridge… and mistakes (take three)!
– We cut a hole in the wall and added in a window.
– We replaced the fridge and also demolished the surrounding area that was there previously (so everything would fit). You can still see a section with a hole in the wall that we hadn’t finished lol. That was just labor and……….
….okay there’s more to the story than that. Originally, I was trying to save some money, and I got the brilliant idea (based on a recommendation) to spray paint the fridge we currently had with appliance paint. Which yes, sounds a bit crazy and contrary to everything I stood for (we do everything 100% non-toxic and organic in our family and are very aware of VOCs). And yet, the tug of war that was happening inside of me was real! One side was screaming, “Save money!” and the other side was tugging back with, “Be smart; be realistic; be healthy”. Yeah…. the wrong side won. It also lied, because it ended up costing us a whole lot more in the end. See, I know it makes no logical sense that I even considered spray painting. I know better. I even just avoided REGULAR paint for the toxins, choosing instead to make milk paint… And yet, I apparently just tossed all that conviction out the window. I thought I’d surprise my husband by my frugal efforts of spray painting our fridge. Oh, I surprised him all right. Can we just blame Mom brain at this point?
Needless to say, when I was done, it looked like…. a spray painted fridge. HAHA! And, honestly, I would have fessed up to my error and kept it anyway, except that I also somehow permanently set off the fire alarm and carbon monoxide alarm (that was built into our RV). I’m presuming it had something to do with the residual toxic spray floating around. My husband got word of what was happening from our children (lol), and he consequently came to help, removed all of us from the RV, and then went back in and removed the fridge from the RV. 😂 He said he could smell it from where he parked…. 1/4 mile away. He informed me we would not be staying in the RV for another few weeks, and we would have to get a new fridge lol. Oops.
PS: I’m sure some people do a great job using appliance paint. I, however, did not.
PS #2: Please note appliance spray paint is highly toxic–even more so than regular spray paint; reference the SDS, MSDS and third party testing for info. I do not recommend anyone follow in my footsteps. Again, the tug of war… it did something weird to my brain haha!
Decor
– We got the chairs for $10 after searching all day. Ones just like it were selling for $100/piece (and there’s no way we would ever spend that much money on a chair), so we were very blessed to have found them!
– I sewed the curtains from some flour sack cloths ($5 and some string)
Photography
– I completed our photography unit and job shadowing before taking the pictures 😂. It’s not perfect, but I learned a lot and hopefully the pictures aren’t too bad!
Open shelves, re-wiring, and lights
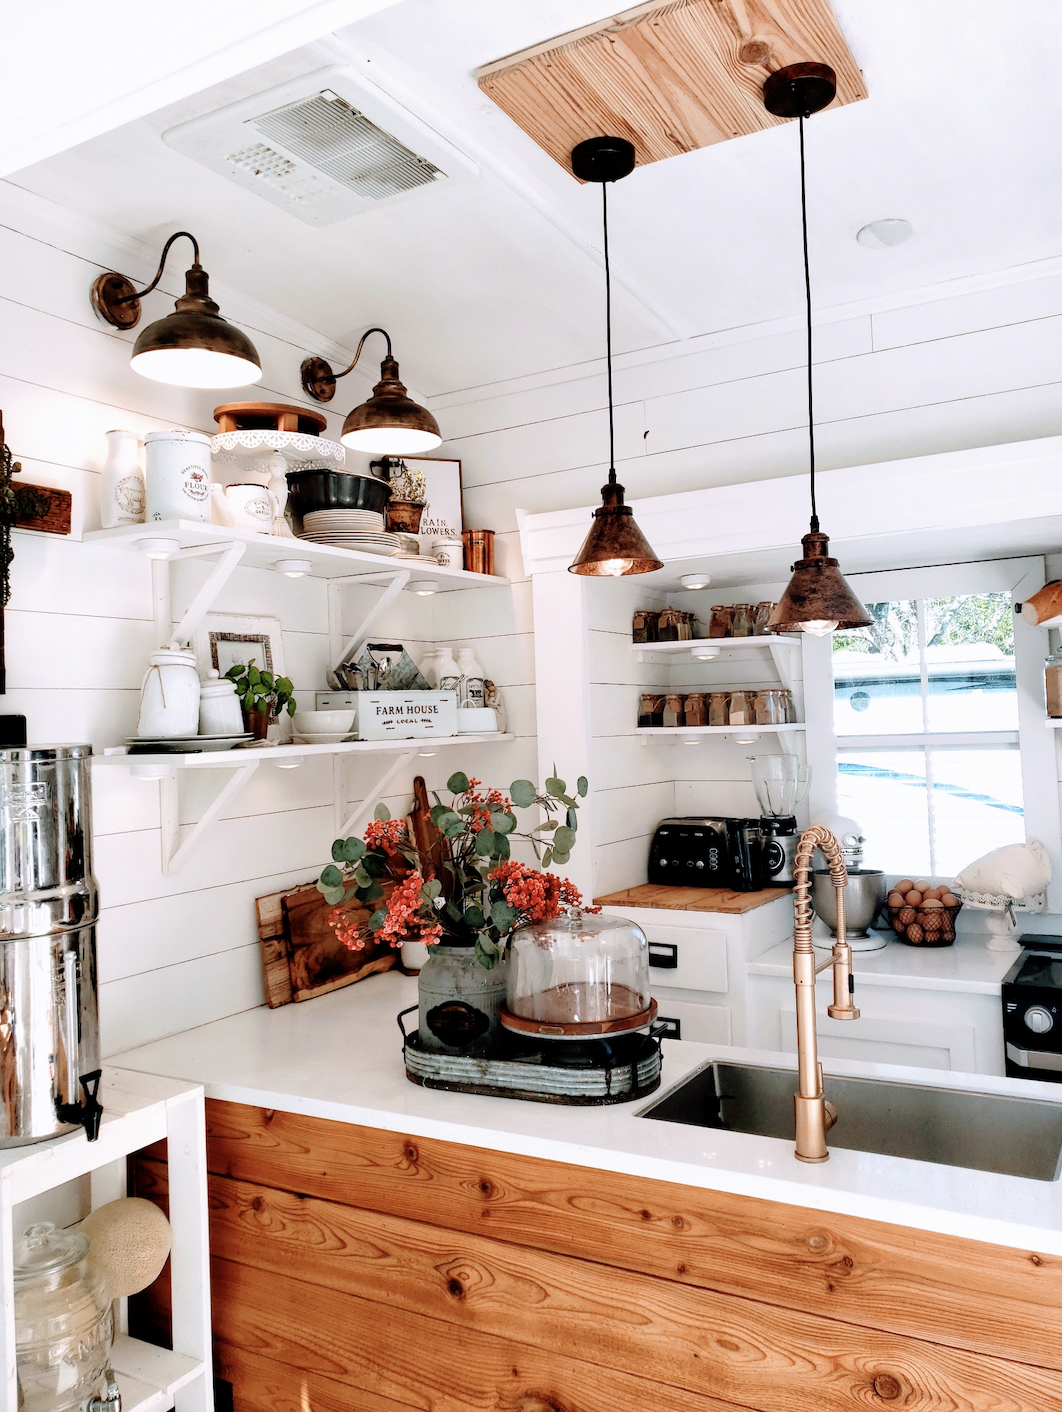
– The open shelves in the kitchen were made for traveling, with some hooks and chicken wire, along with some separators (we just stick in the separators, hook up the chicken wire, and it squeezes everything together and locks it in, and it’s good to go).
– We re-wired parts of the RV because we wanted certain things to work off of 12v and others off of 120v. That was incredibly annoying and probably the worst of the entire process.
– We swapped out light fixtures and lights after rewiring… and guys, my husband is INCREDIBLE… he seriously let me try about 30 different light bulbs because I was looking for the right kelvin, lumen, etc. It’s something that is easily impacted by the surrounding shades, and you can’t tell exactly what works without seeing it in person. Lighting is EVERYTHING, so I am so grateful for him.
– Annnd…. I’m sure there’s more, but that’s all I’m remembering for now. We still aren’t done with the rest of the RV, but we’re getting there. For what was done so far, we saved up a couple hundred dollars each month to dedicate for this purpose and 3-4 total months (altogether) in regular, planned renovations [and no, I’m not including the cost of the composting toilet or the fridge because we are just pretending those things never happened].
Hope you guys enjoyed!
BACK TO BLOG: TAKING BACK YOUR HOMESCHOOLING DAY!
Your RV looks like Joanna Gaines did your interior decorating. I love how much more open and bigger it looks with your renovations. I would love to get an RV one day and travel to National Parks. I keep telling my husband he could make a killing at campgrounds with his handyman skills.
Can I live in your RV? It’s beautiful! Great job!
I need to know how you made natural sealant, stain and milk paint! Just give it all to me!! Love it!!